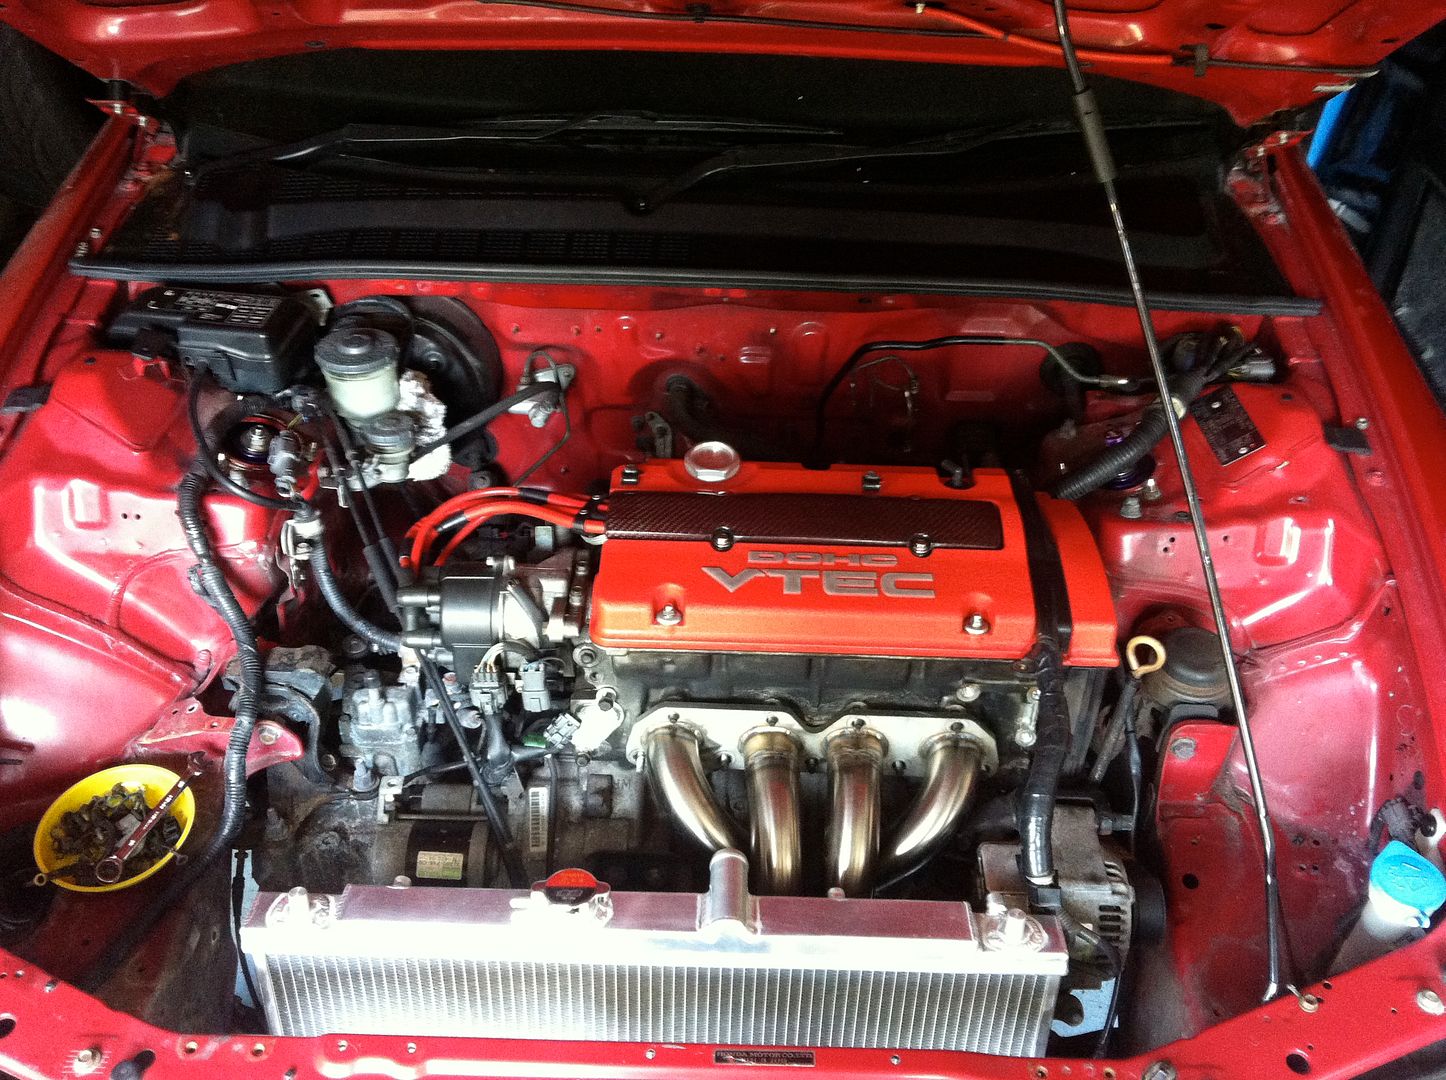
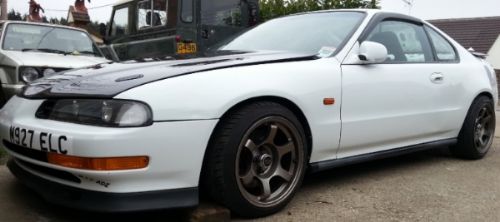
Congratulations to vtecmec for winning May/June's Lude Of The Month, with his DIY Turbo BB1 build.

>>> Click Here For Profile <<<

Image

Supercharged Mugen Lude (03/06/14 Update!)

Tell us all about your Lude, you know you want to ...
User avatar
wurlycorner
Ye are glad to be dead, RIGHT?
Posts: 21493
Joined: Sat May 19, 2012 3:33 pm
My Generation: 4G
Location: Chelmsford, Essex
Has thanked: 2481 times
Been thanked: 306 times

Post by wurlycorner » Fri Jul 19, 2013 12:31 am

nucleustylzlude wrote: Iain: Got more updates too would you believe! ;)
:o :scaredtoss:

Btw I didn't get in from work today till 9, so not been able to get out and check the rad mount rubbers tonight (contractor not got their act together, RFI's galore, bad quality WPP's coming in left right and centre = mountains of paperwork to get through... :evil:)

User avatar
nucleustylzlude
Moderator
Posts: 4013
Joined: Wed Aug 11, 2010 11:46 pm
My Generation: 4G
Location: Bristol, UK!
Been thanked: 7 times
Contact:

Re: Supercharged Mugen Lude (23/11/12 Update)

Post by nucleustylzlude » Fri Jul 19, 2013 11:07 pm

No worries, still on my hols so no mad rush. I'm heading home tomorrow (Poo!). Let me know when you get time to check. Thanks again.

Your work sounds fun! :P
Seem to have more and more projects with contractors not getting their acts together. Very frustrating.

_Cease_
Posts: 1
Joined: Sat Jul 20, 2013 12:01 am
My Generation: 4G

Post by _Cease_ » Sat Jul 20, 2013 12:18 am

Wow. Nice build. Makes me want to work on my lude. 8-)

User avatar
nucleustylzlude
Moderator
Posts: 4013
Joined: Wed Aug 11, 2010 11:46 pm
My Generation: 4G
Location: Bristol, UK!
Been thanked: 7 times
Contact:

Re: Supercharged Mugen Lude (23/11/12 Update)

Post by nucleustylzlude » Sat Jul 20, 2013 9:52 pm

Wow yourself! First and only post and you praise my build - thanks! :D

Reading through makes me want to work on my lude too - its been a rarity, and a bit of a running joke on here. But I'm not the only one! :lol:

User avatar
nucleustylzlude
Moderator
Posts: 4013
Joined: Wed Aug 11, 2010 11:46 pm
My Generation: 4G
Location: Bristol, UK!
Been thanked: 7 times
Contact:

BUILD PART 5) - Build (Cont'd) – ABS removal

Post by nucleustylzlude » Thu Jul 25, 2013 4:04 pm

BUILD PART 5) - Build (Cont'd) – ABS removal

Some actual work!

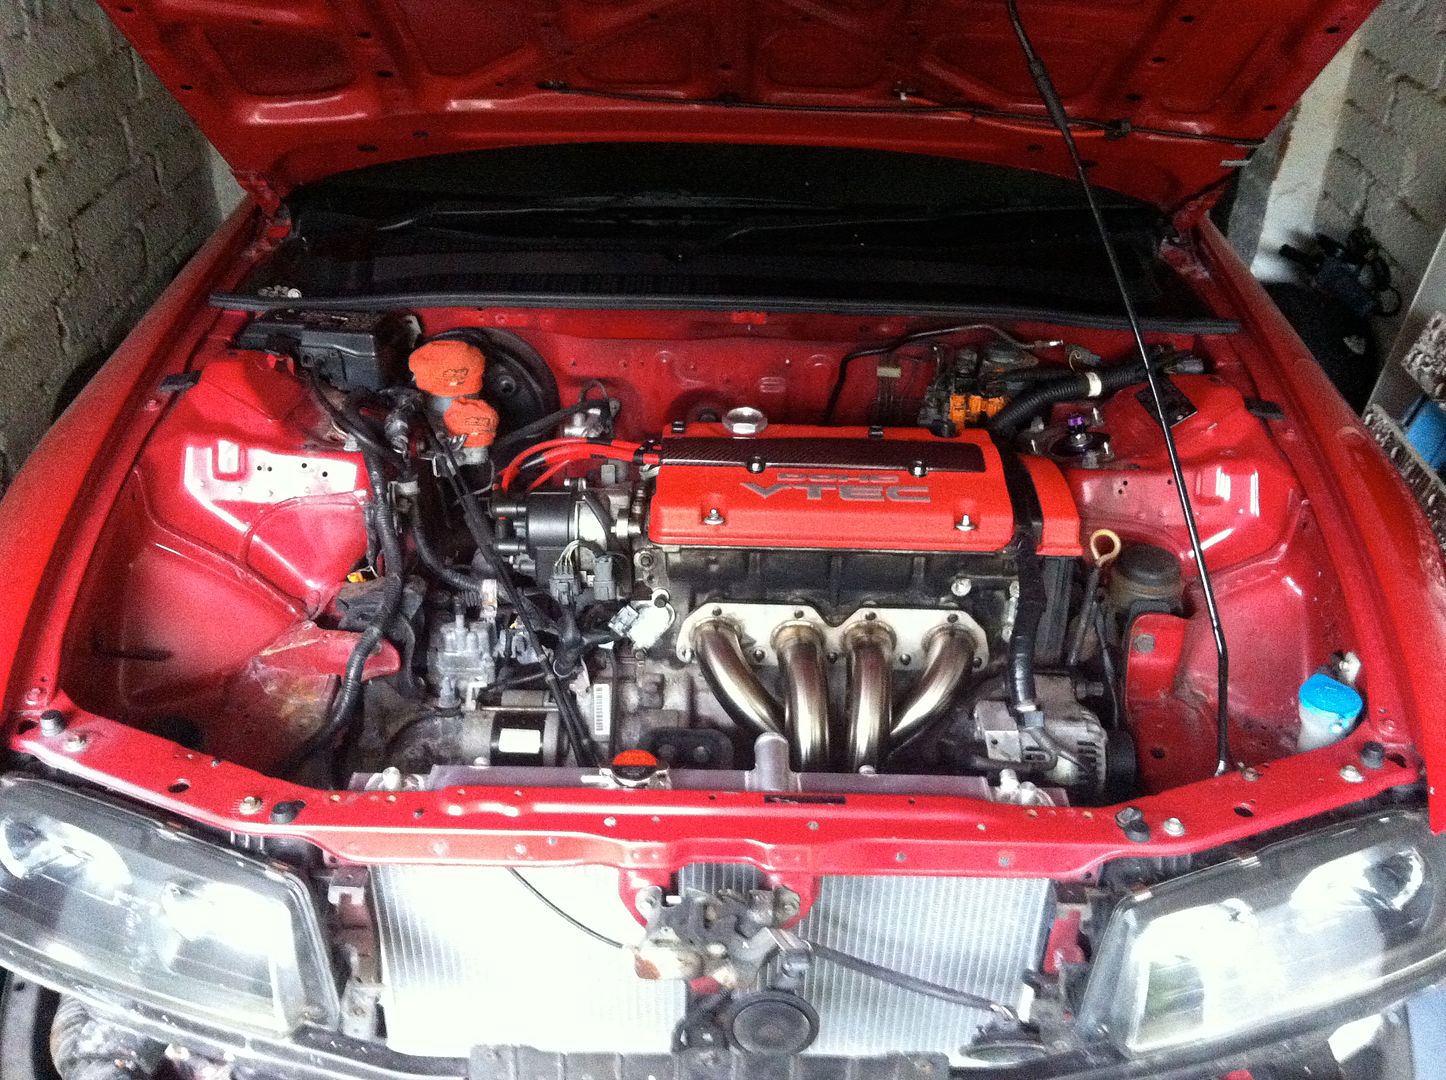
Well, well, I finally found some time to work on the lude (a while ago!) and finally got going on removing the ABS system, pretty much the only thing left to remove in the engine bay!

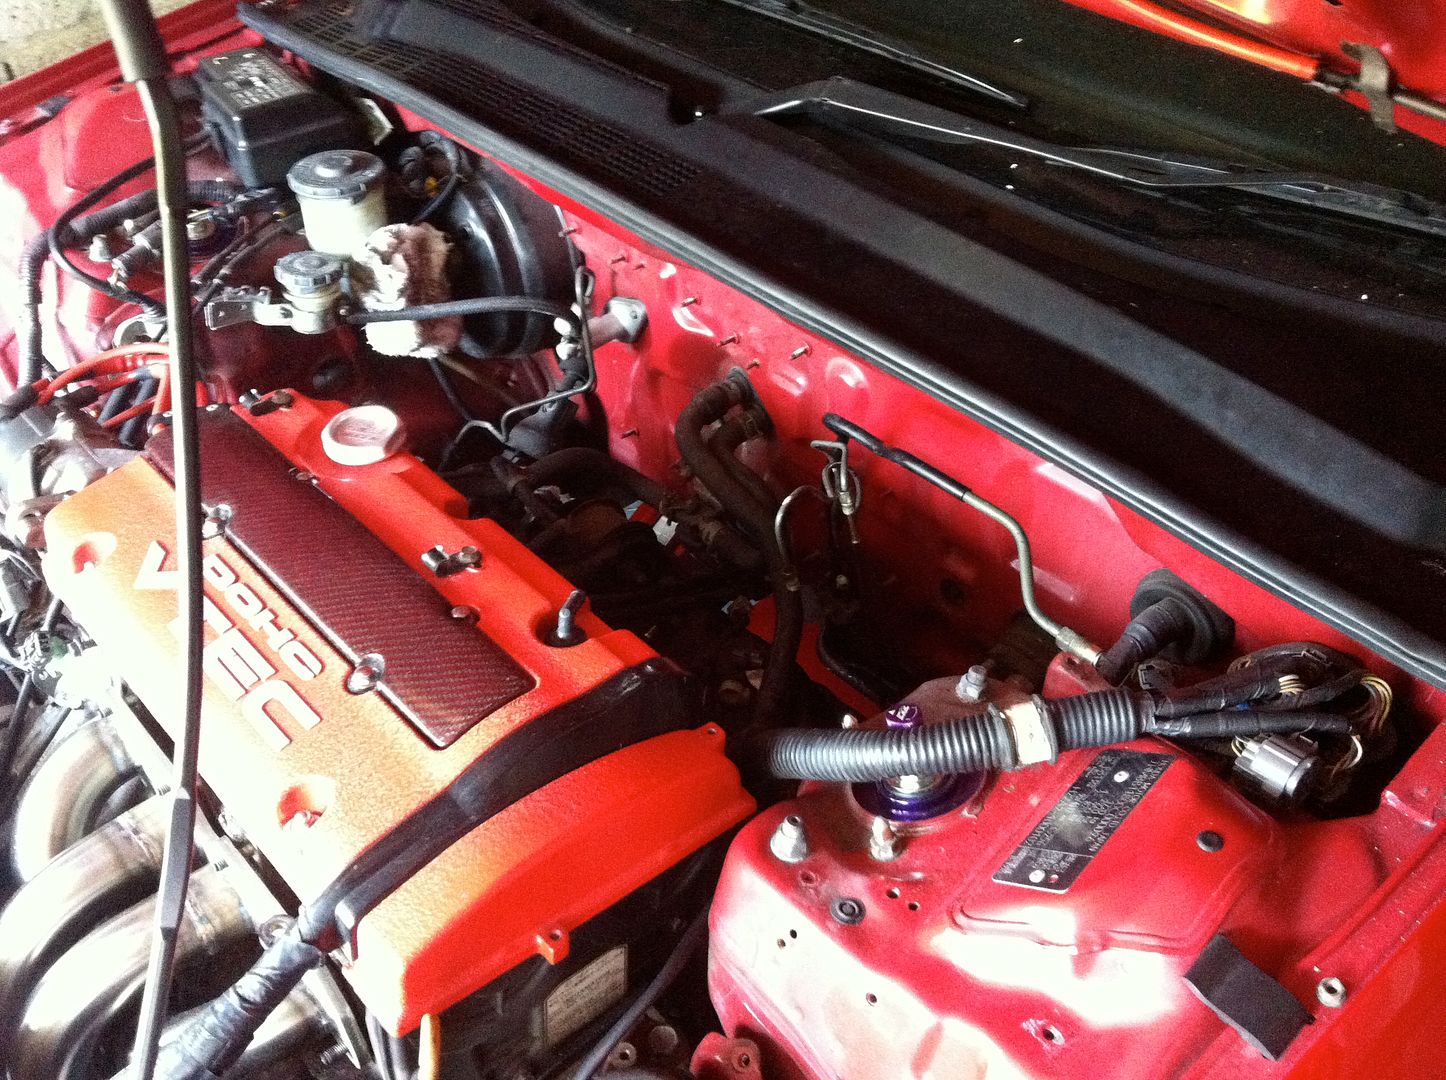
Here is where the engine bay was left, looking very bare indeed! The ABS unit is at the top right of the picture against the firewall.
Image


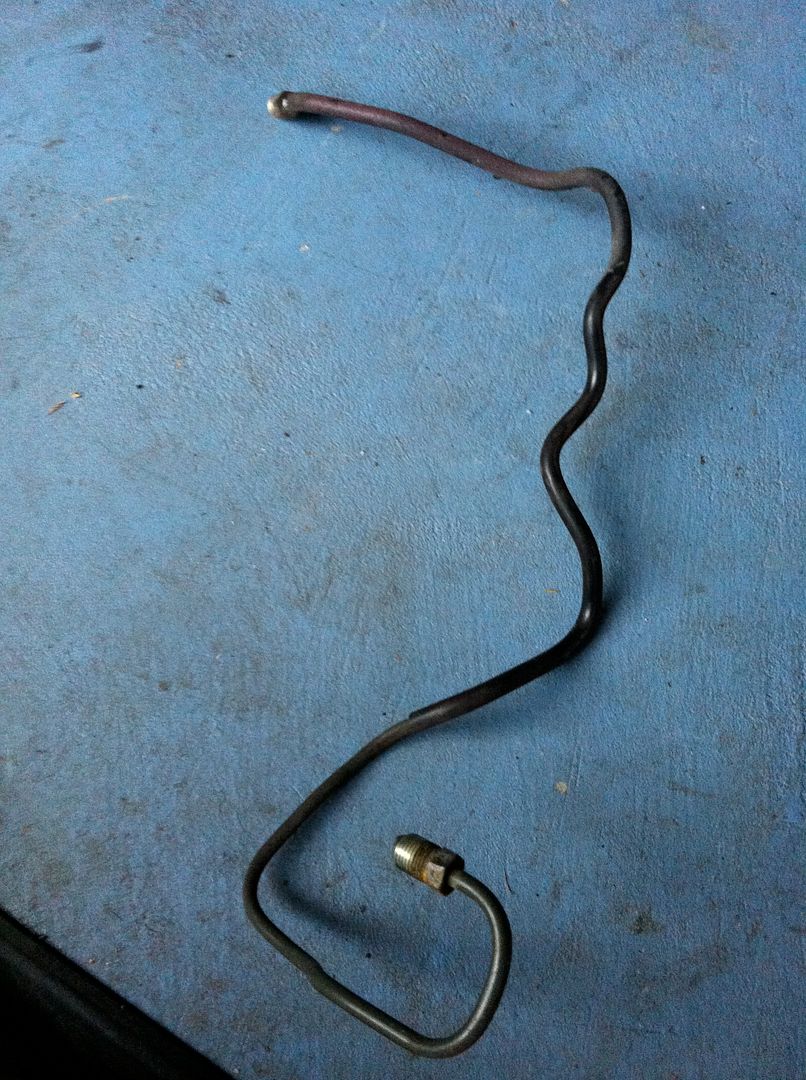
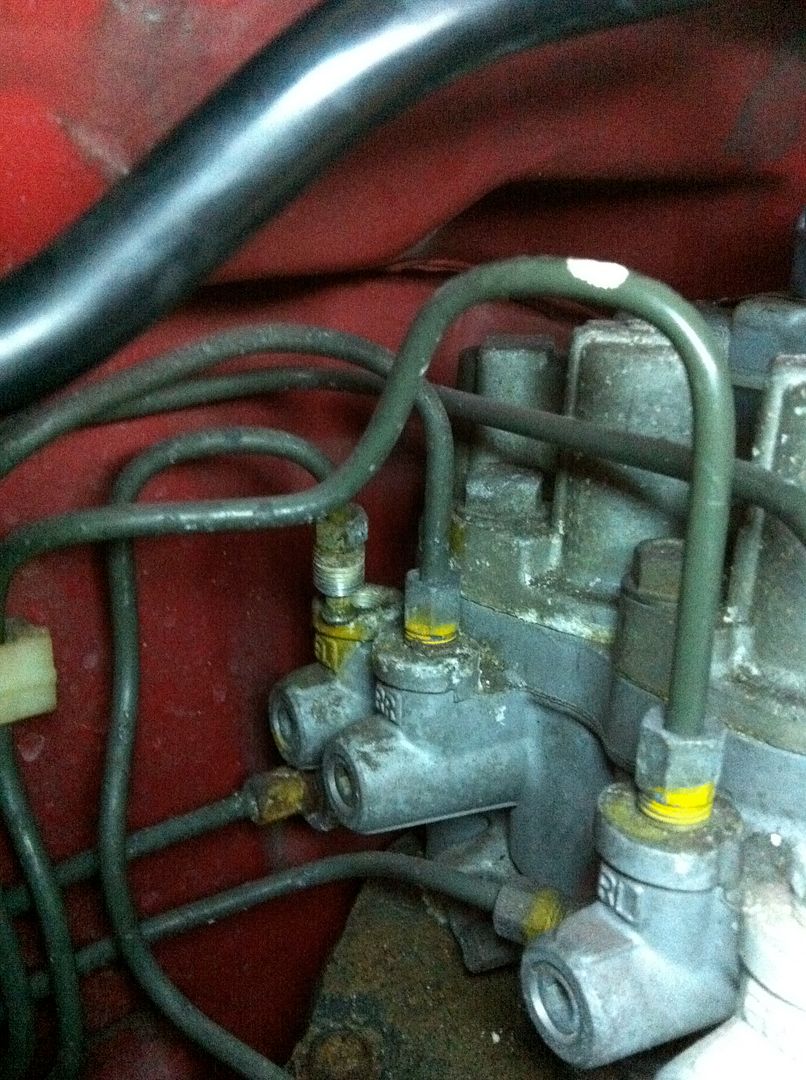
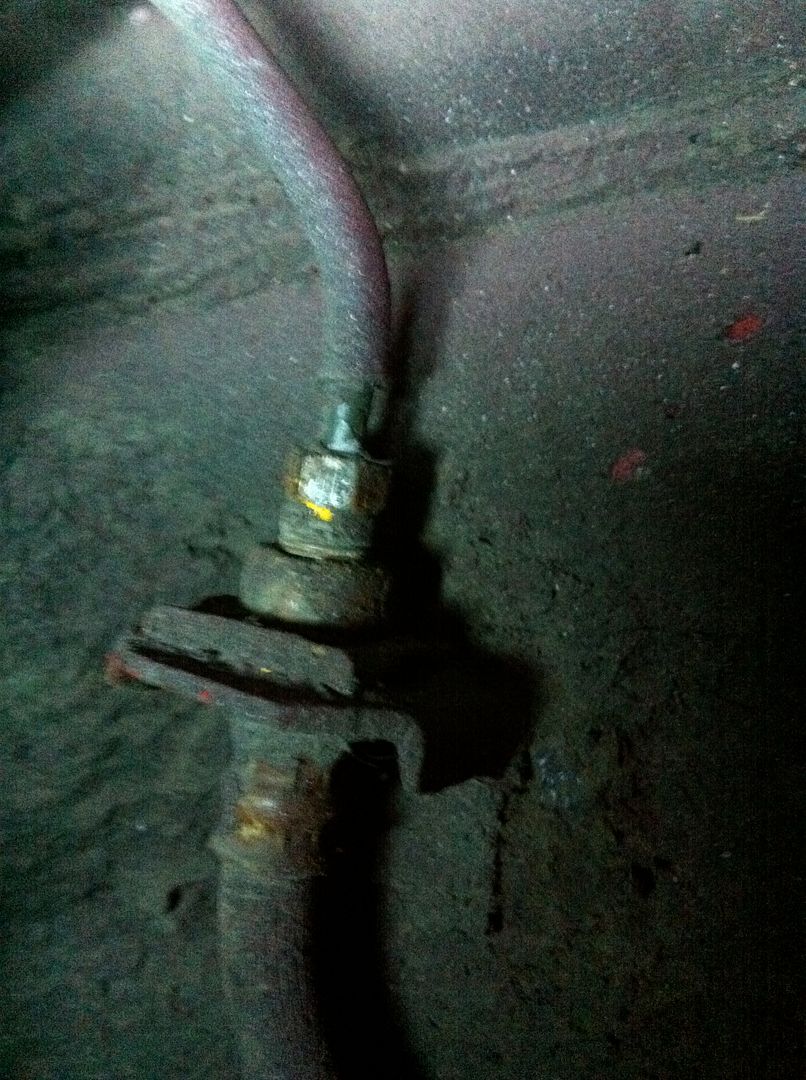
So where to start? I chose the shortest line which goes from the ABS unit to the passenger front wheel. The flare nuts can be very stiff as they generally have never been removed and are under pressure all their lives. However the two either end of this line came loose really easily. Would the others follow suit? :?

Started at the ABS unit, undo the nut at the back, closest to the firewall:
Image

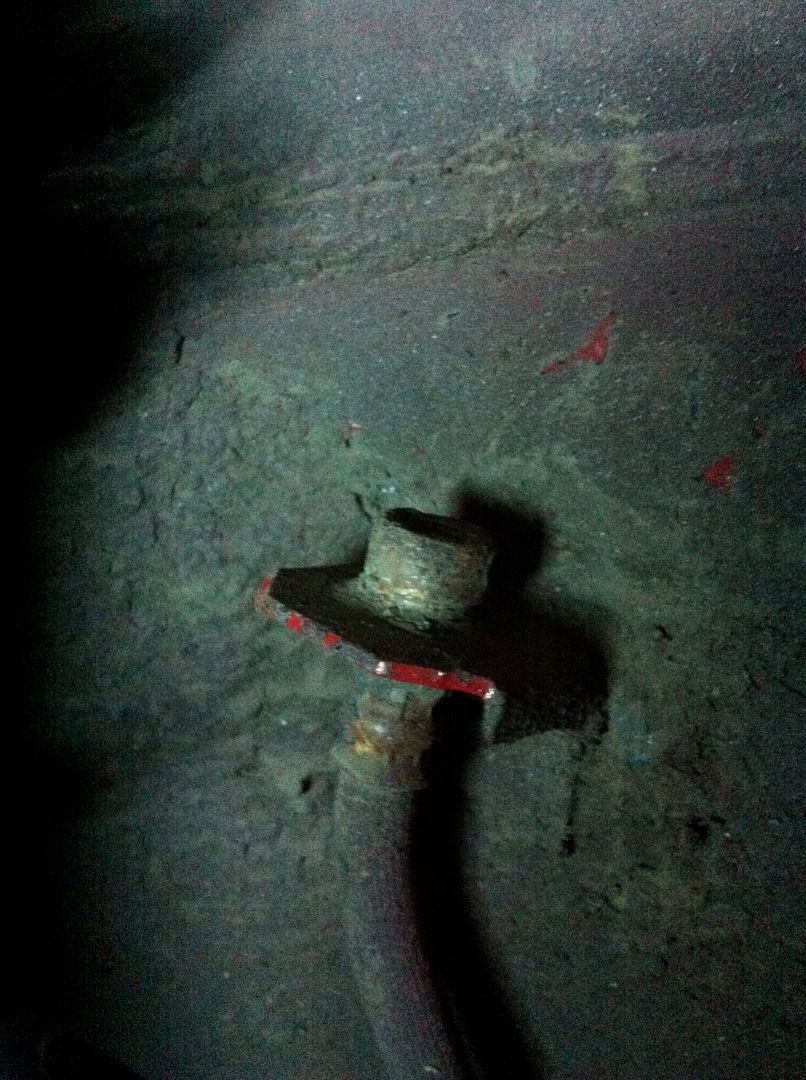
Then the nut in the wheel well which connects to the rubber hose to the wheel:
Image

Image


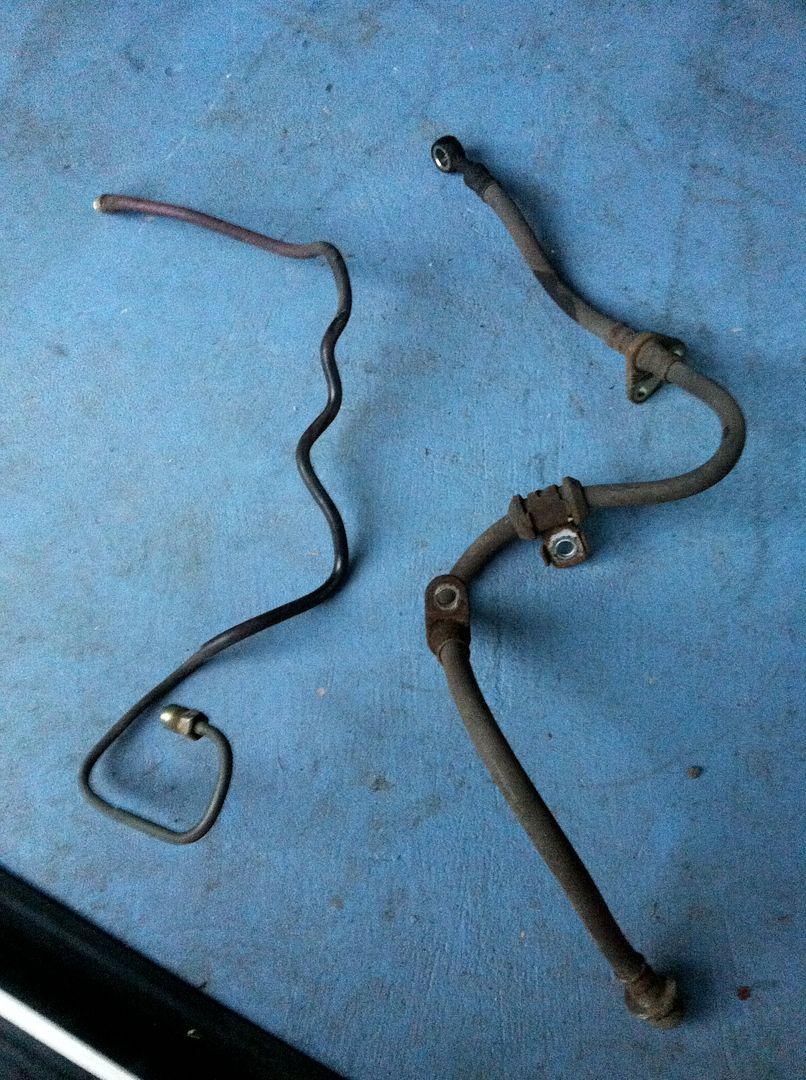
Once the line is loose either end, free the line from any brackets, not sure if there was one for this short piece of pipe. Then I managed to wriggle this one out in one piece without bending it. I guess it was in faith that they could be sold as replacements. That soon turned to cr@p on the next few lines though! :lol:

Image


While I was in the wheel wells I also decided to remove the rubber flexy hoses and the ABS sensors.

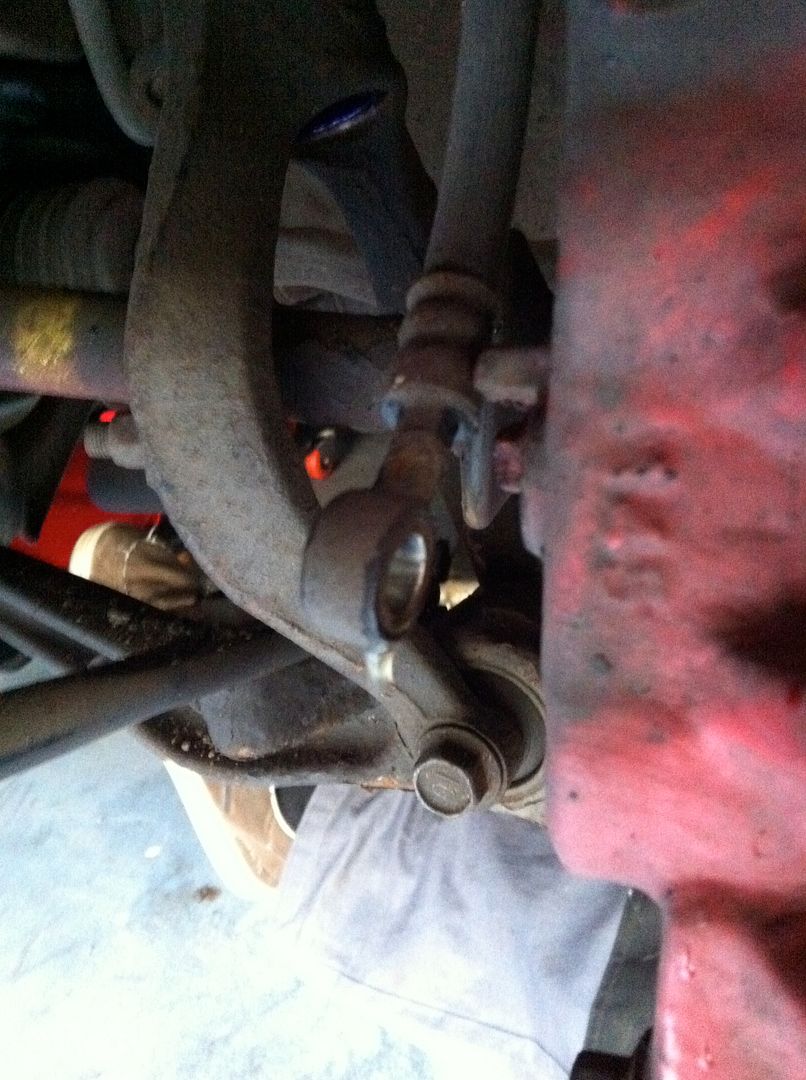
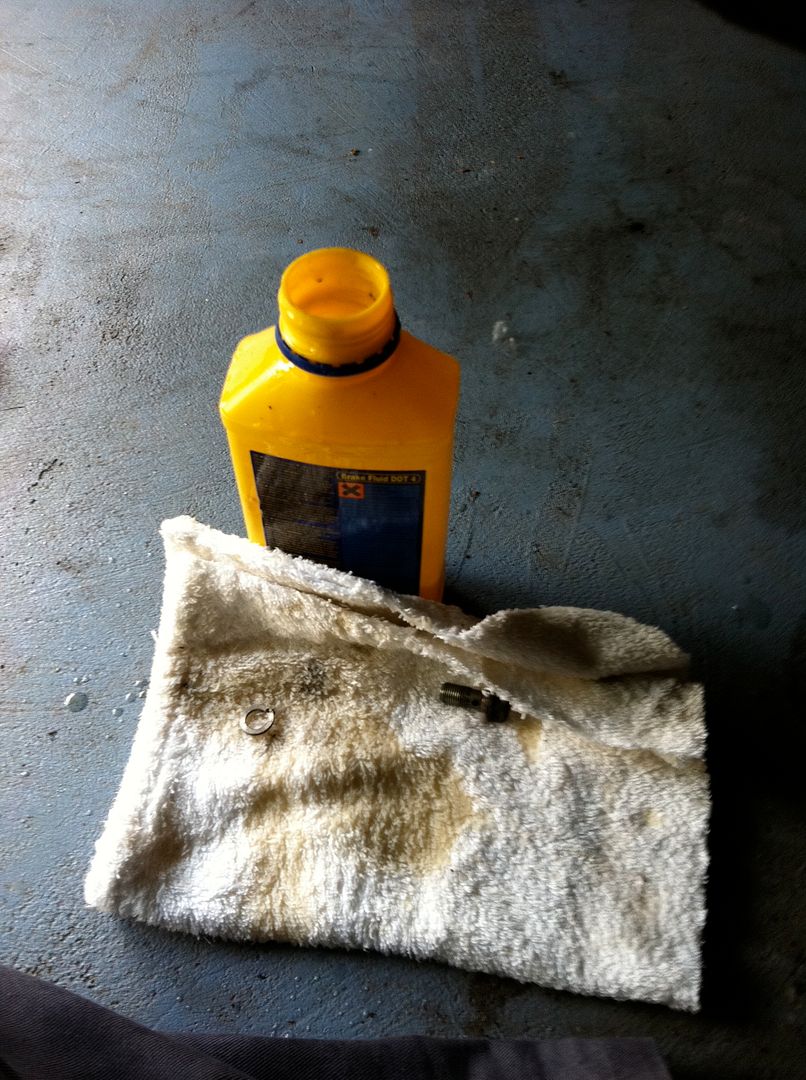
Flexy hoses first, undo the banjo bolt at the caliper. Have a rag and a bottle to catch the brake fluid. You can use clamps and stoppers to hold the fluid in place but seeing as I’m removing everything I let it drain (takes a while!):
Image

Image


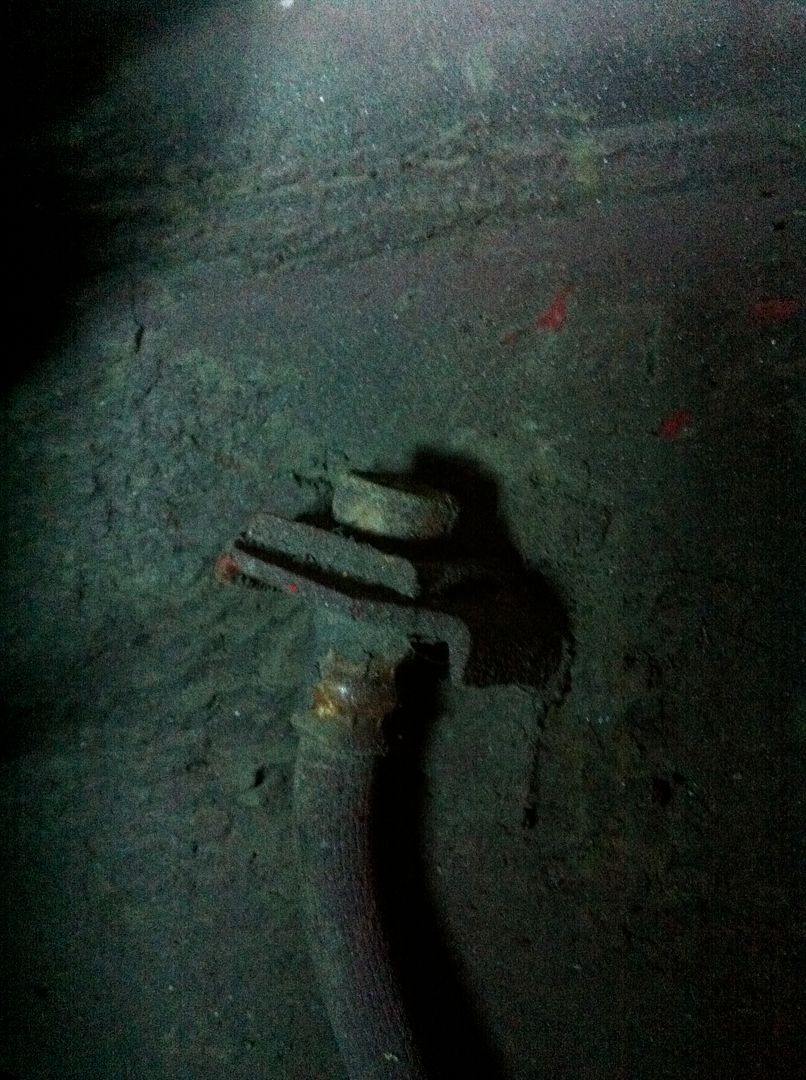
Then back to the other end and remove the retaining clip, just pulls out with some pliers.
Image

Image

Image

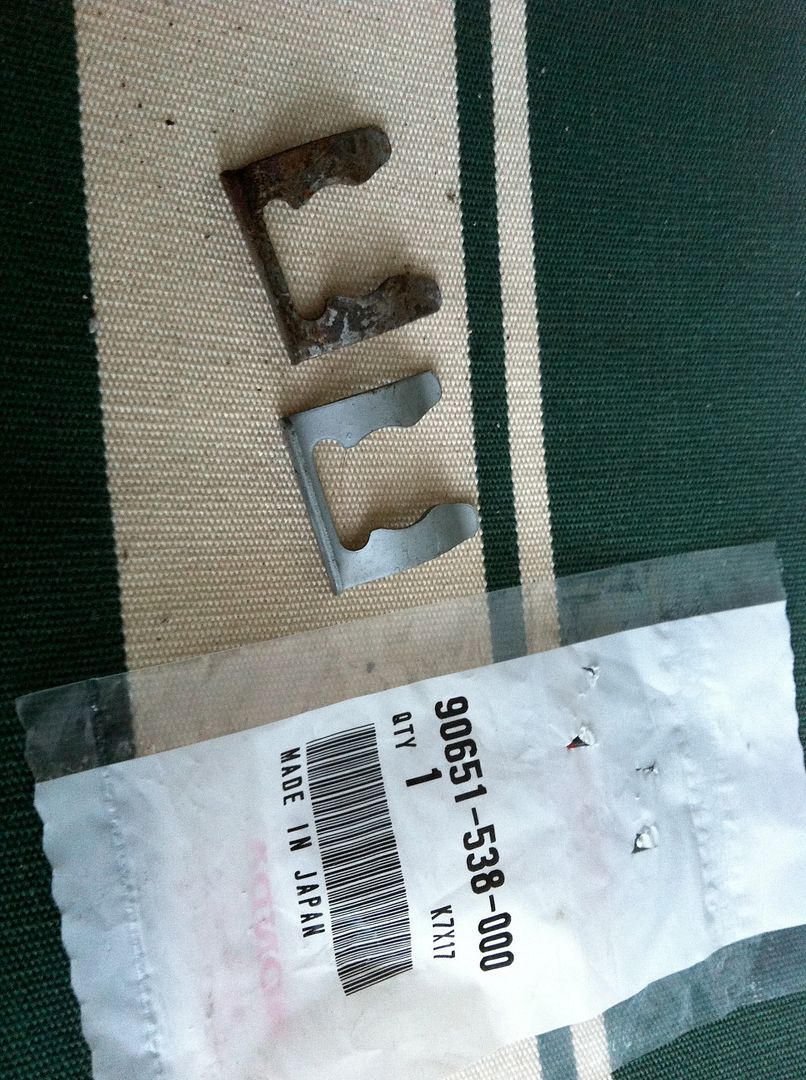
The old clips were looking tired and corroded, and figured I’d get some new ones. I actually found a set in with a box of random Honda parts I picked up on ebay a while back, a stock clearance. They paid for the whole box of parts (small box mind) just using these clips! 8)

Image

Part number there if people need them. :wink:

Then there are three brackets to undo – all the usual 10mm retaining bolts and voila:
Image


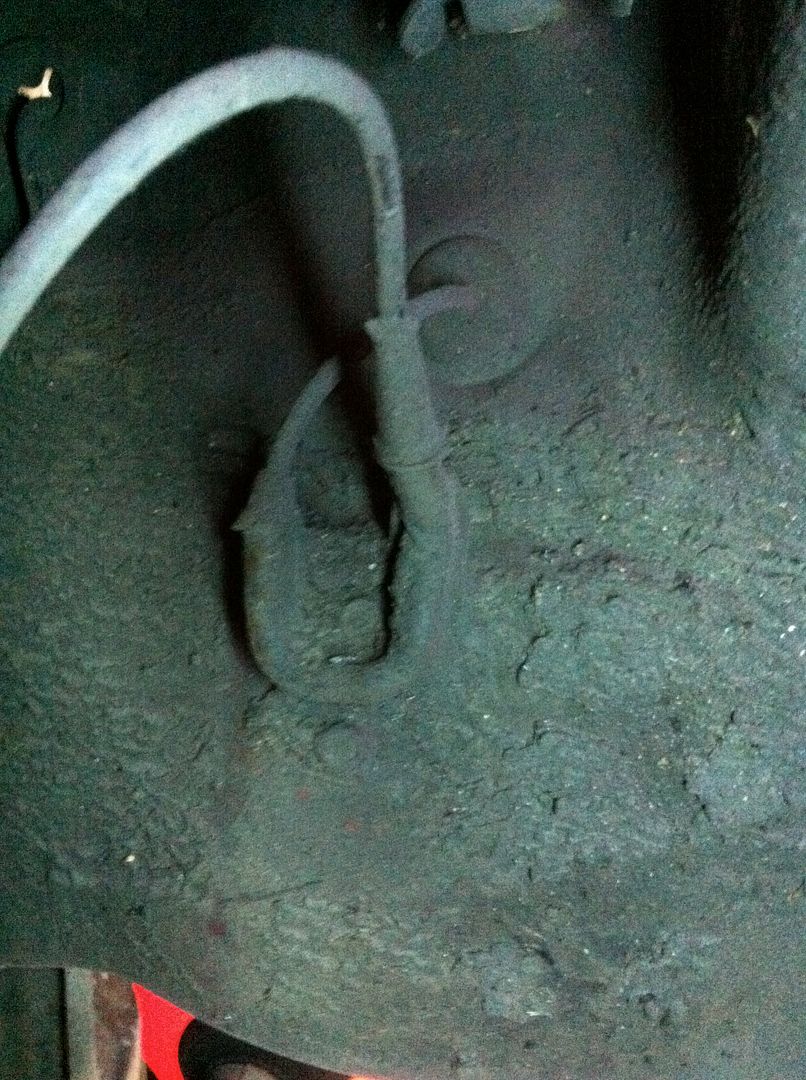
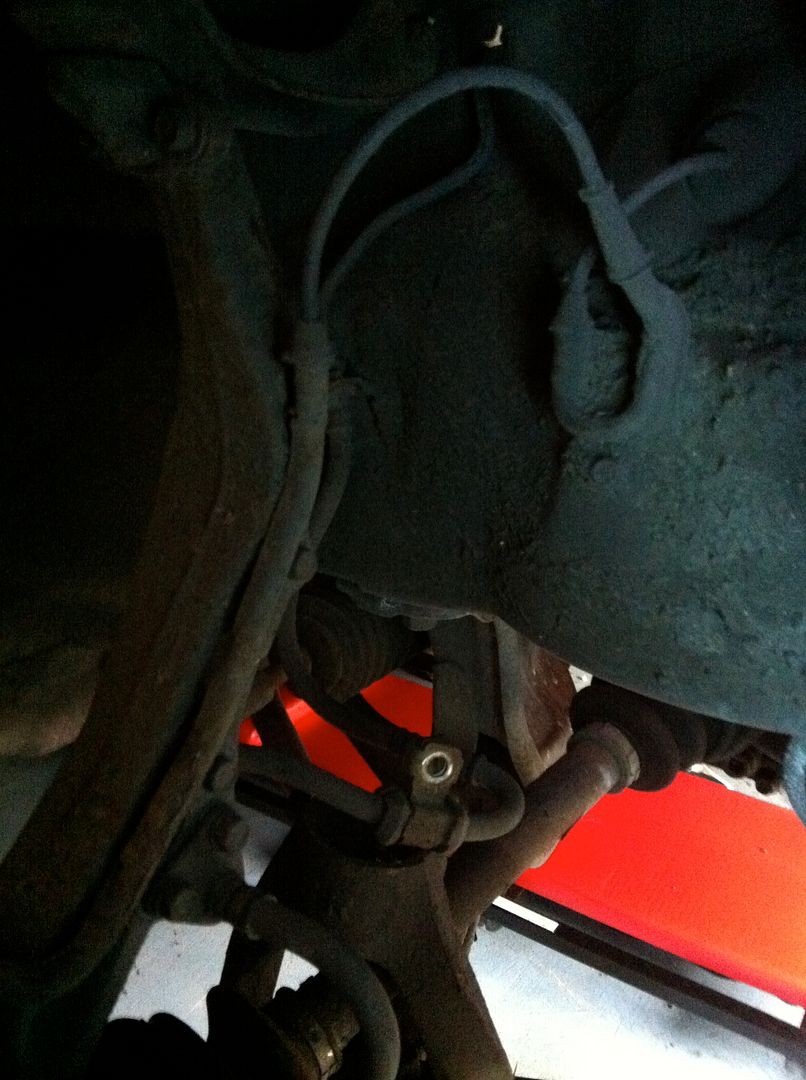
Then onto the ABS sensor. Remove the plug in the engine bay and then head into the wheel well again:
Image

Image

Image

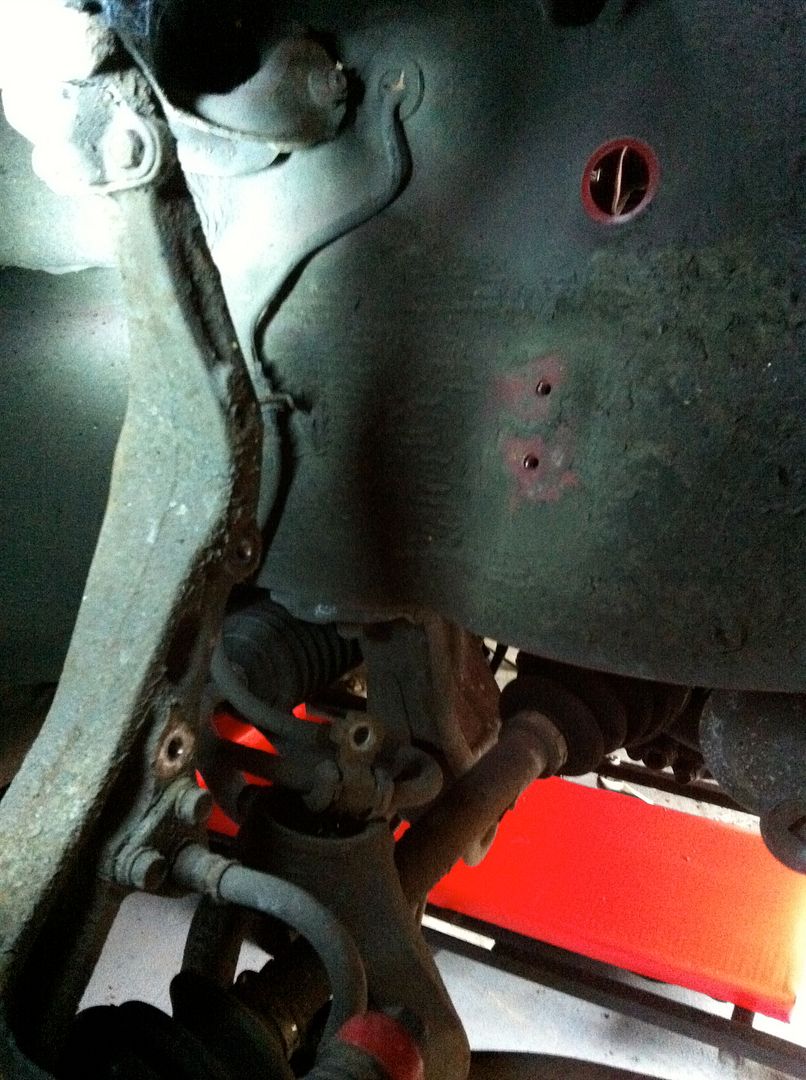
Pop the rubber bung out that goes to the engine bay, then remove the mount bolts and off it comes.
Image

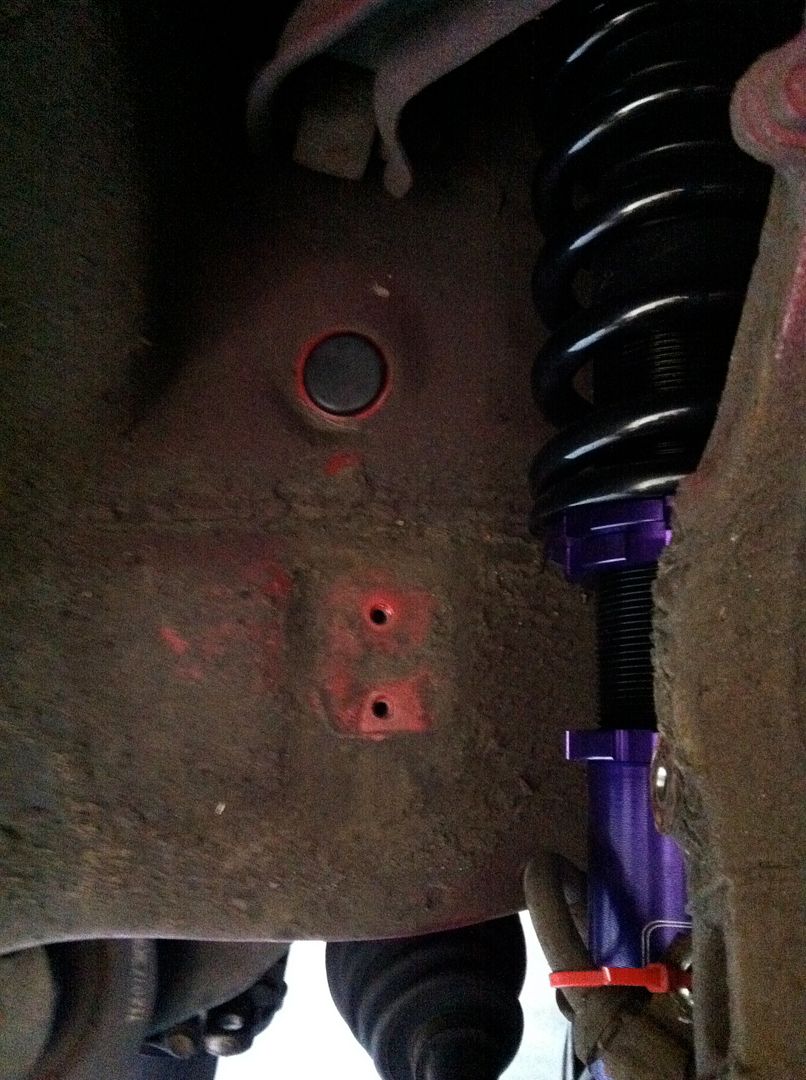
This leaves you with a hole to the engine bay and two exposed metal bolt holes from the first bracket. I plugged the large holes with new rubber bungs – 25mm diameter ones for reference. :wink:

Image

I also through the old bolts back in the bracket holes with a washer to cover them up. No pics though. The wheel wells need a good pressure wash and seal, which is at the bottom of the list of to dos once it’s back on the road.


So that’s the easy bits. No onto the other longer pipes. :roll:

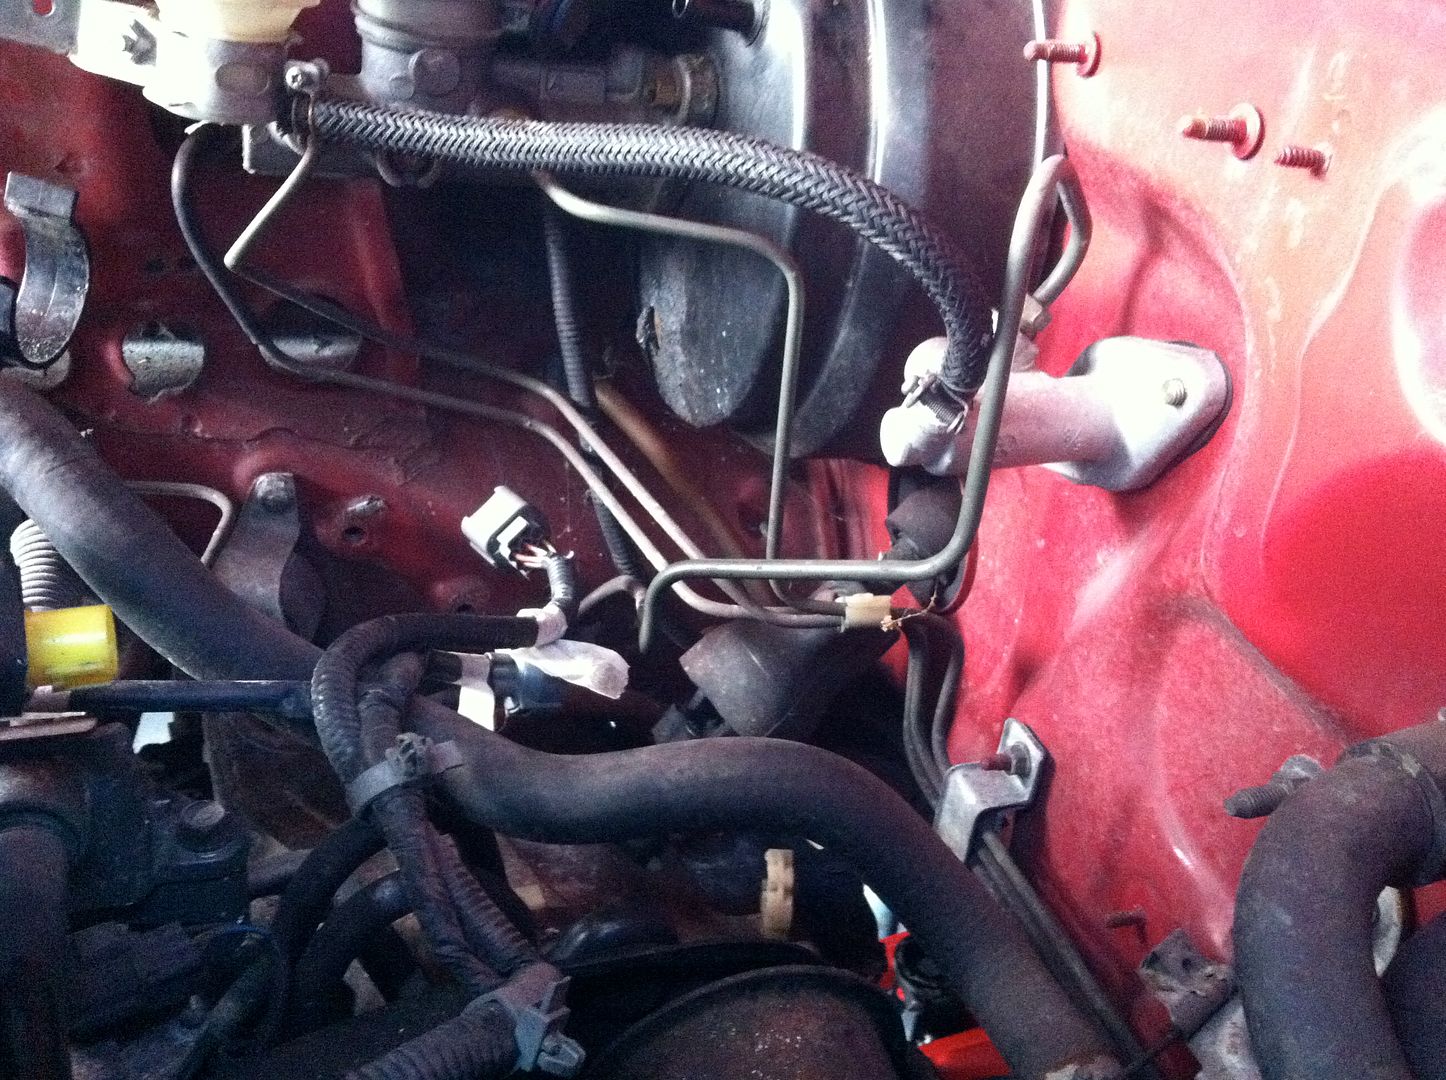
See here the number of brackets and other items these pipes weave in and out of, this looks fun!
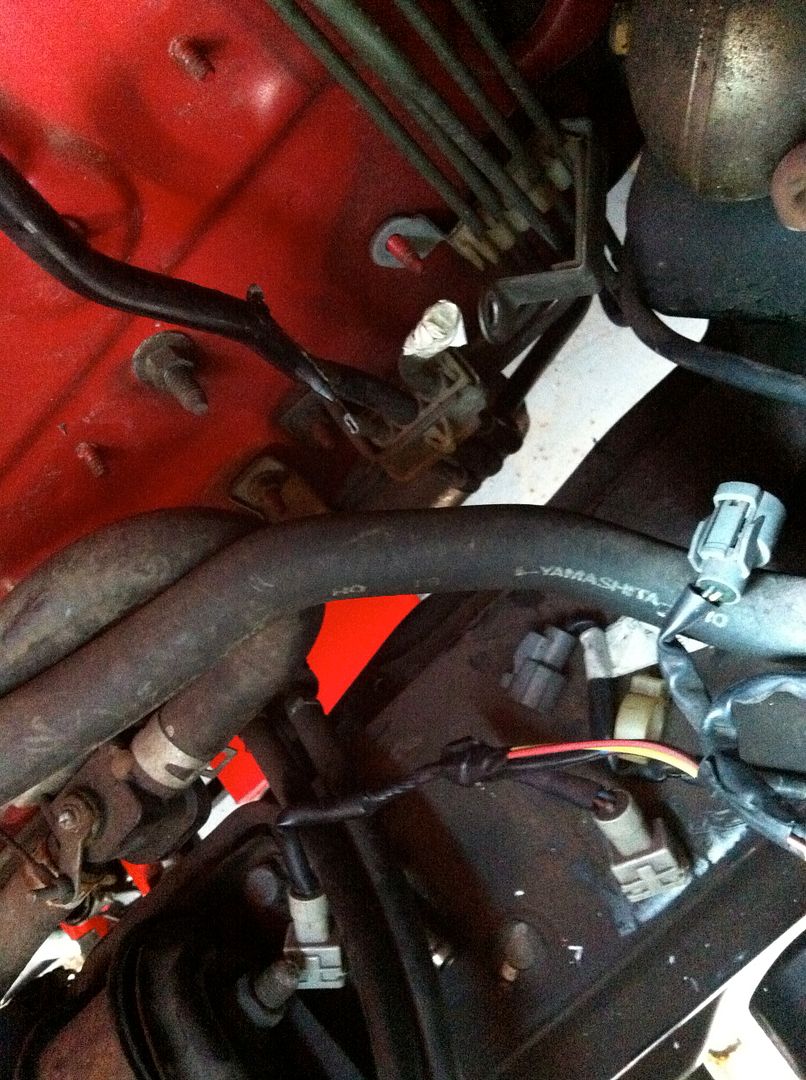
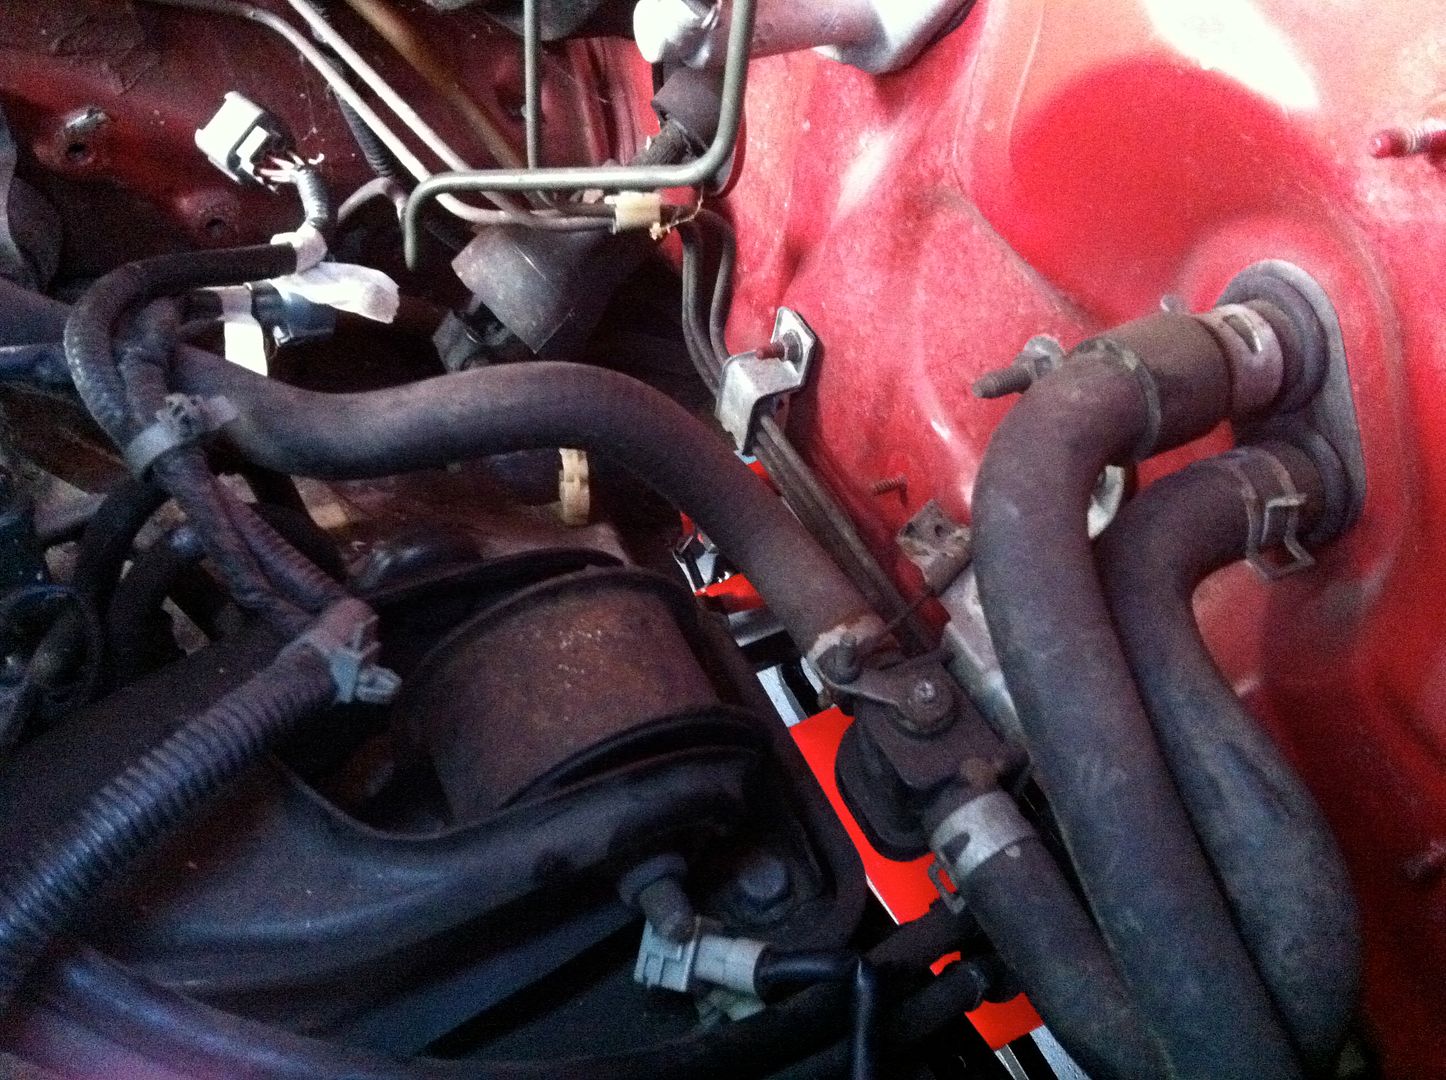
Image

Image

Image


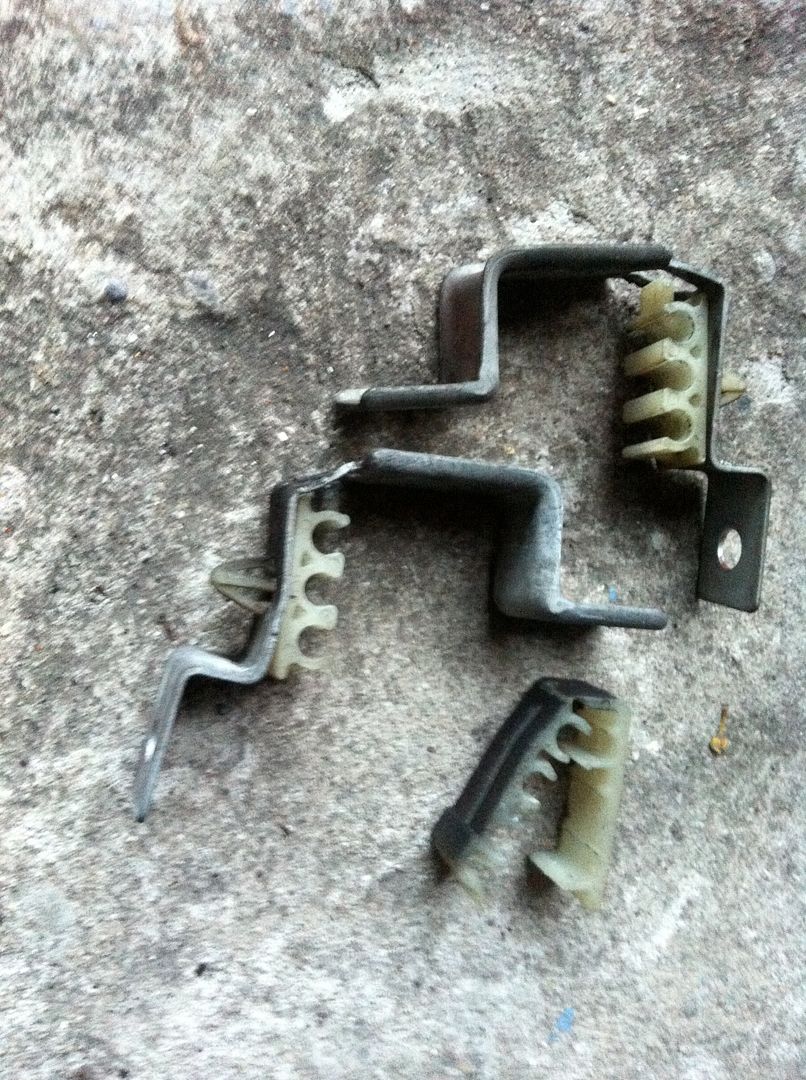
First up remove all the pipe brackets. I’m binning these as I have some nice shiny new rubber lined aluminium P clips. 8)

Image


There are 5 lines to remove at the ABS unit now, two that route under the car to the rear calipers, two which route back to the drivers side to the master cylinder and another one routed back to the drivers side to the front drivers side caliper.
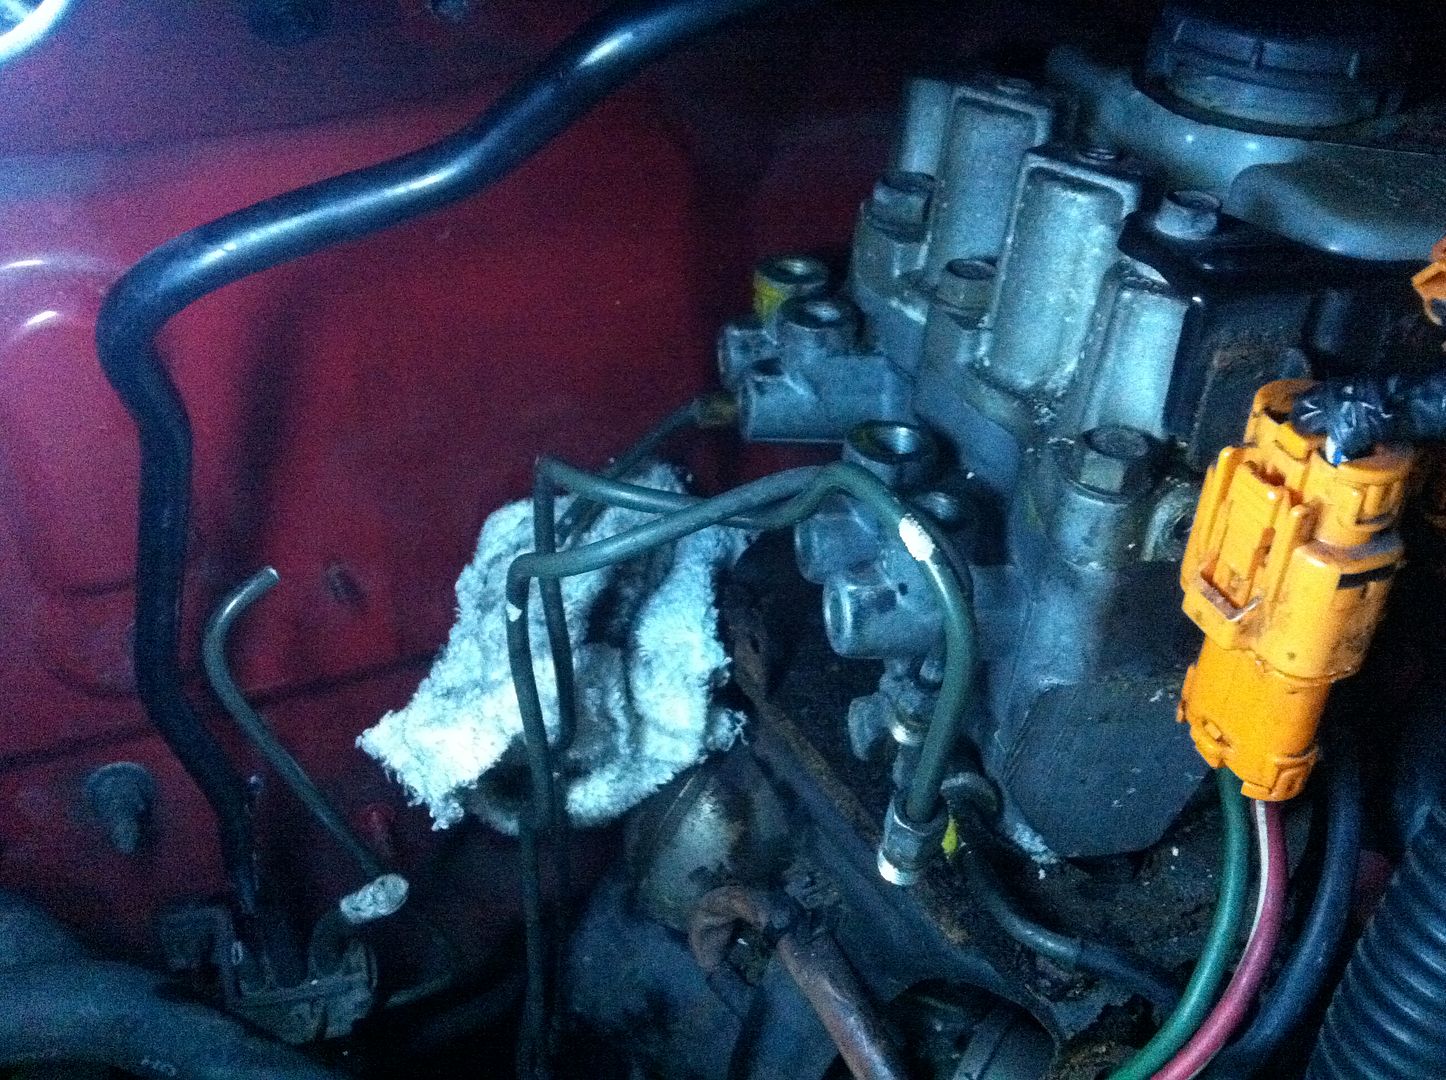
Image


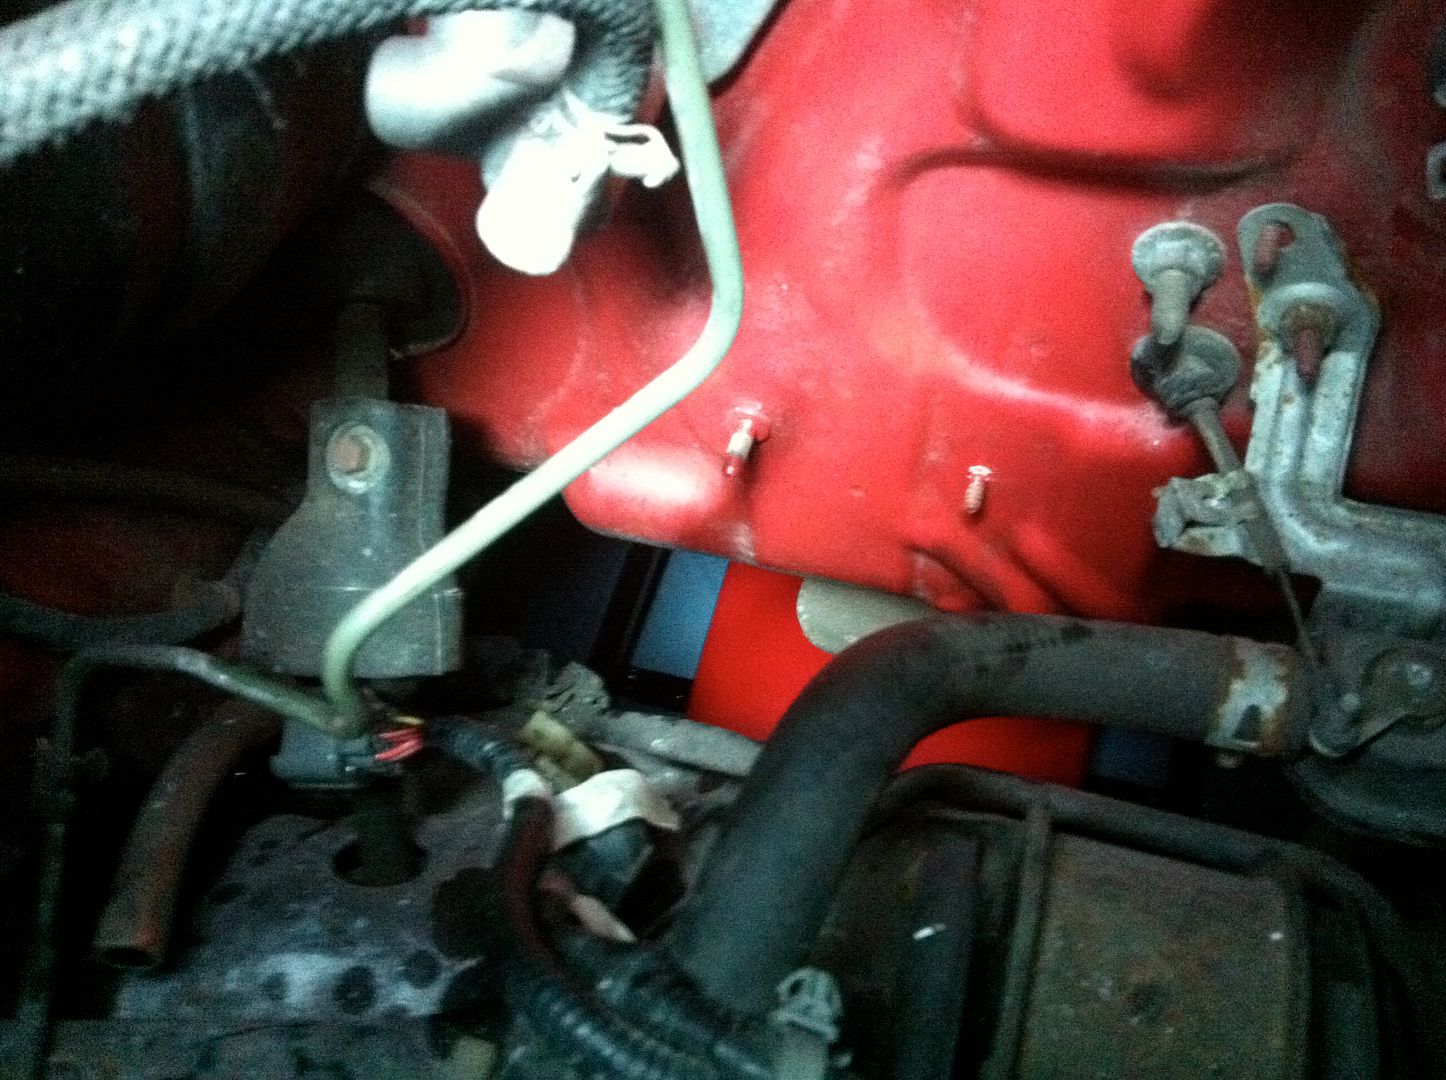
As you can see, I had one flare nut which just wouldn’t budge, luckily I am making new lines so I could just cut it. Thank god it wasn’t one of the rears lines as I’m retaining these for now.

Not much to say in terms of a how-to, just try and get out the two M/C lines and front drivers caliper line. It’s a pain but the ability to bend and cut lines really helped. And you will be rewarded with:

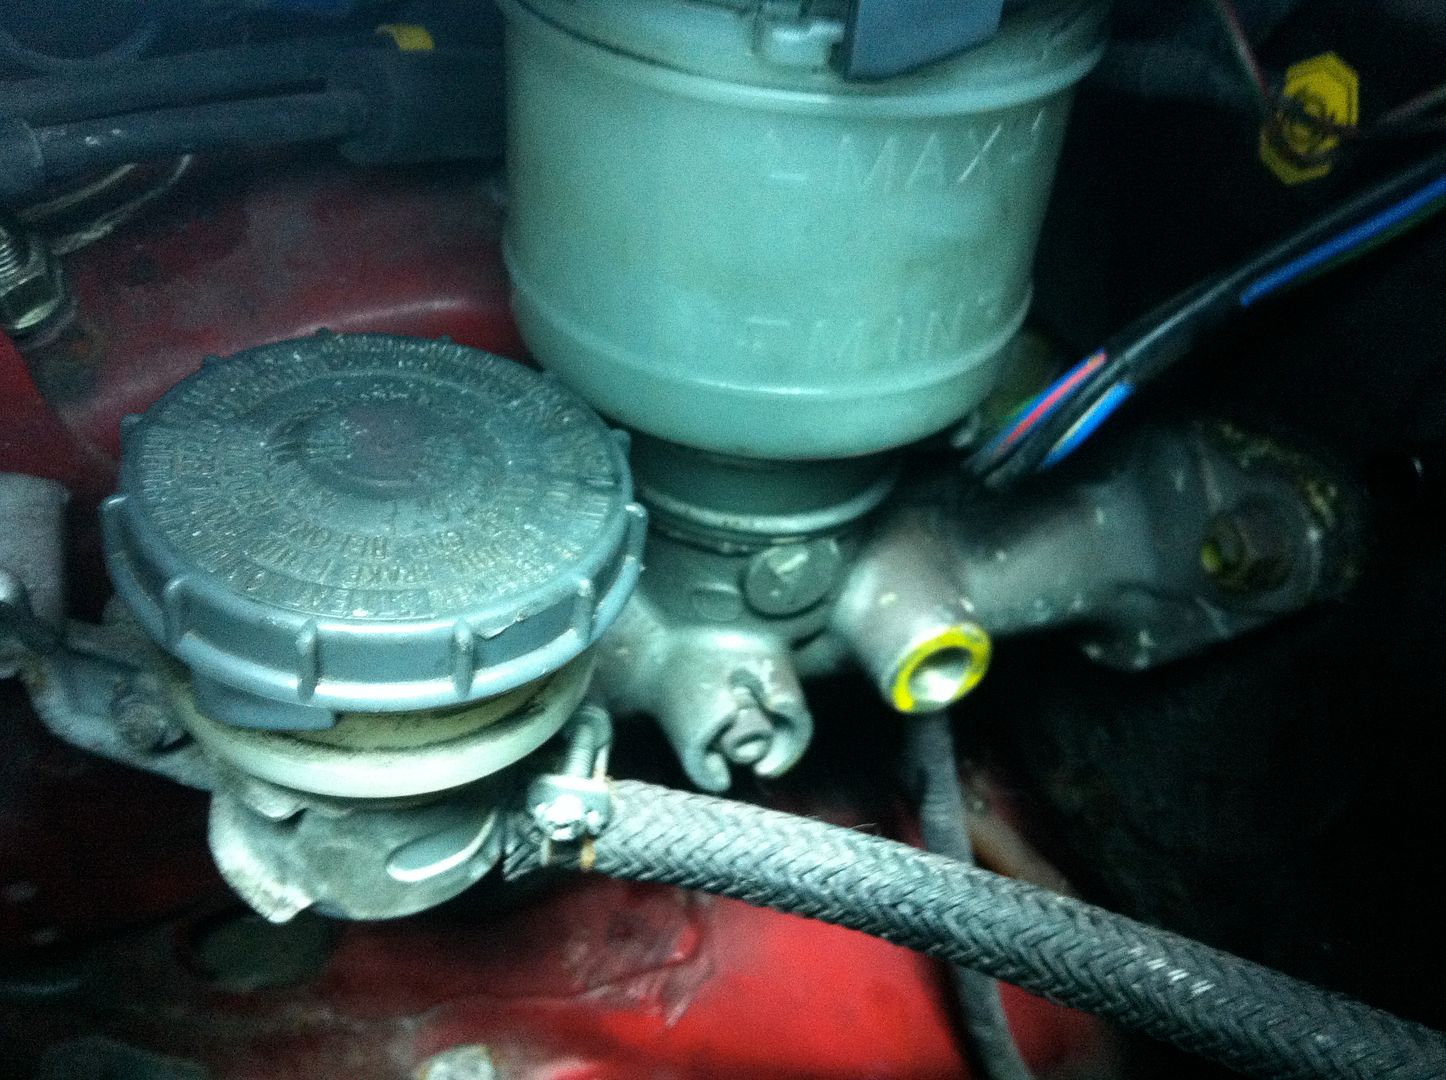
Image

Image

Image

Image


The only lines left are the two coming from the rear directly next to the pump, the two fuel supply and return lines and the clutch m/c hard pipe (more on that later).


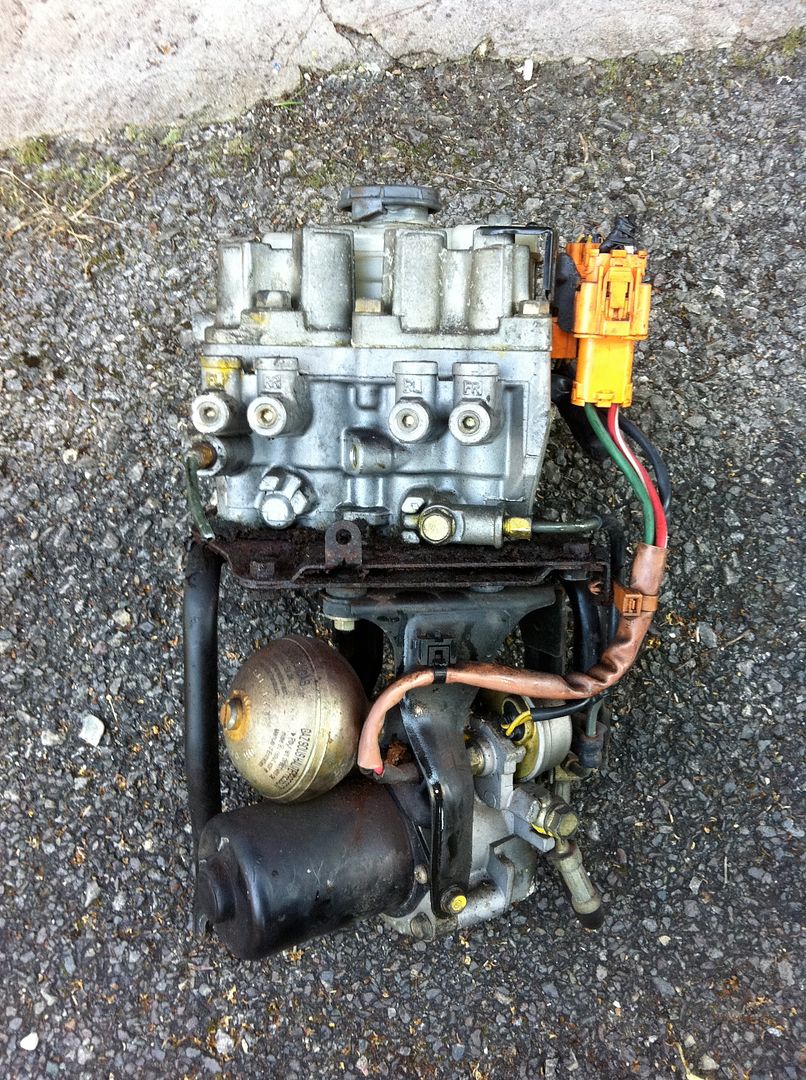
Final item of course is the ABS pump/modulator unit – this thing is huge and will save me sooooo much weight.

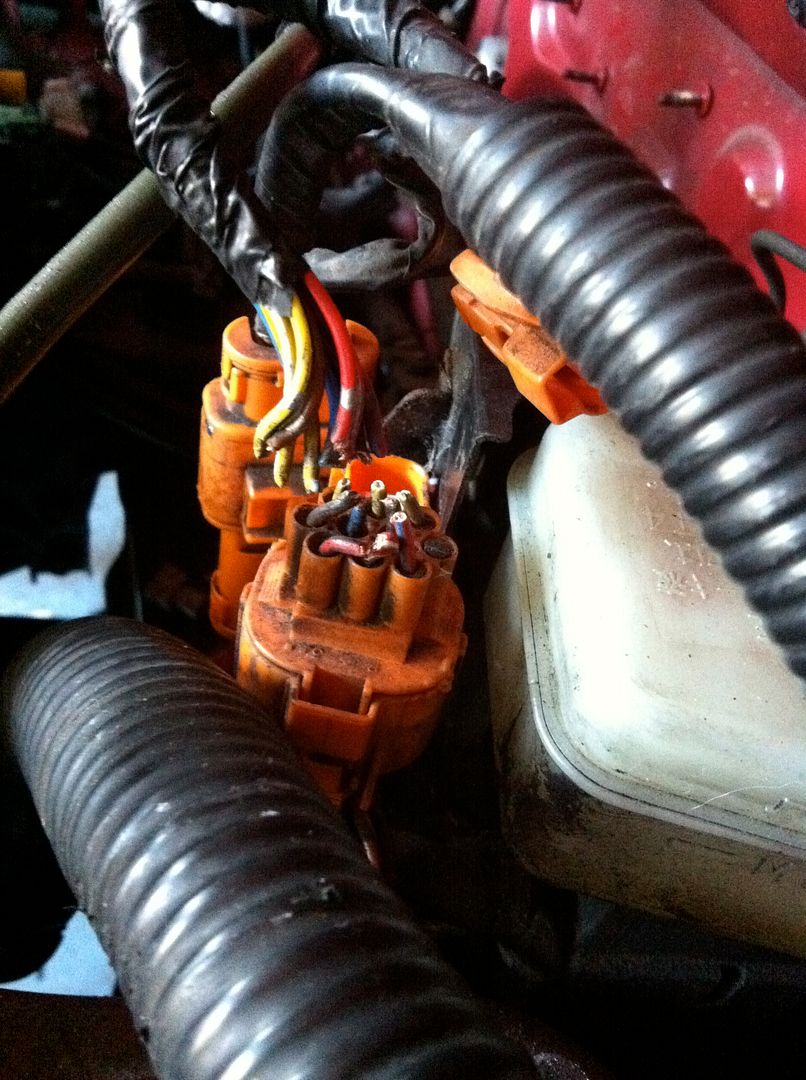
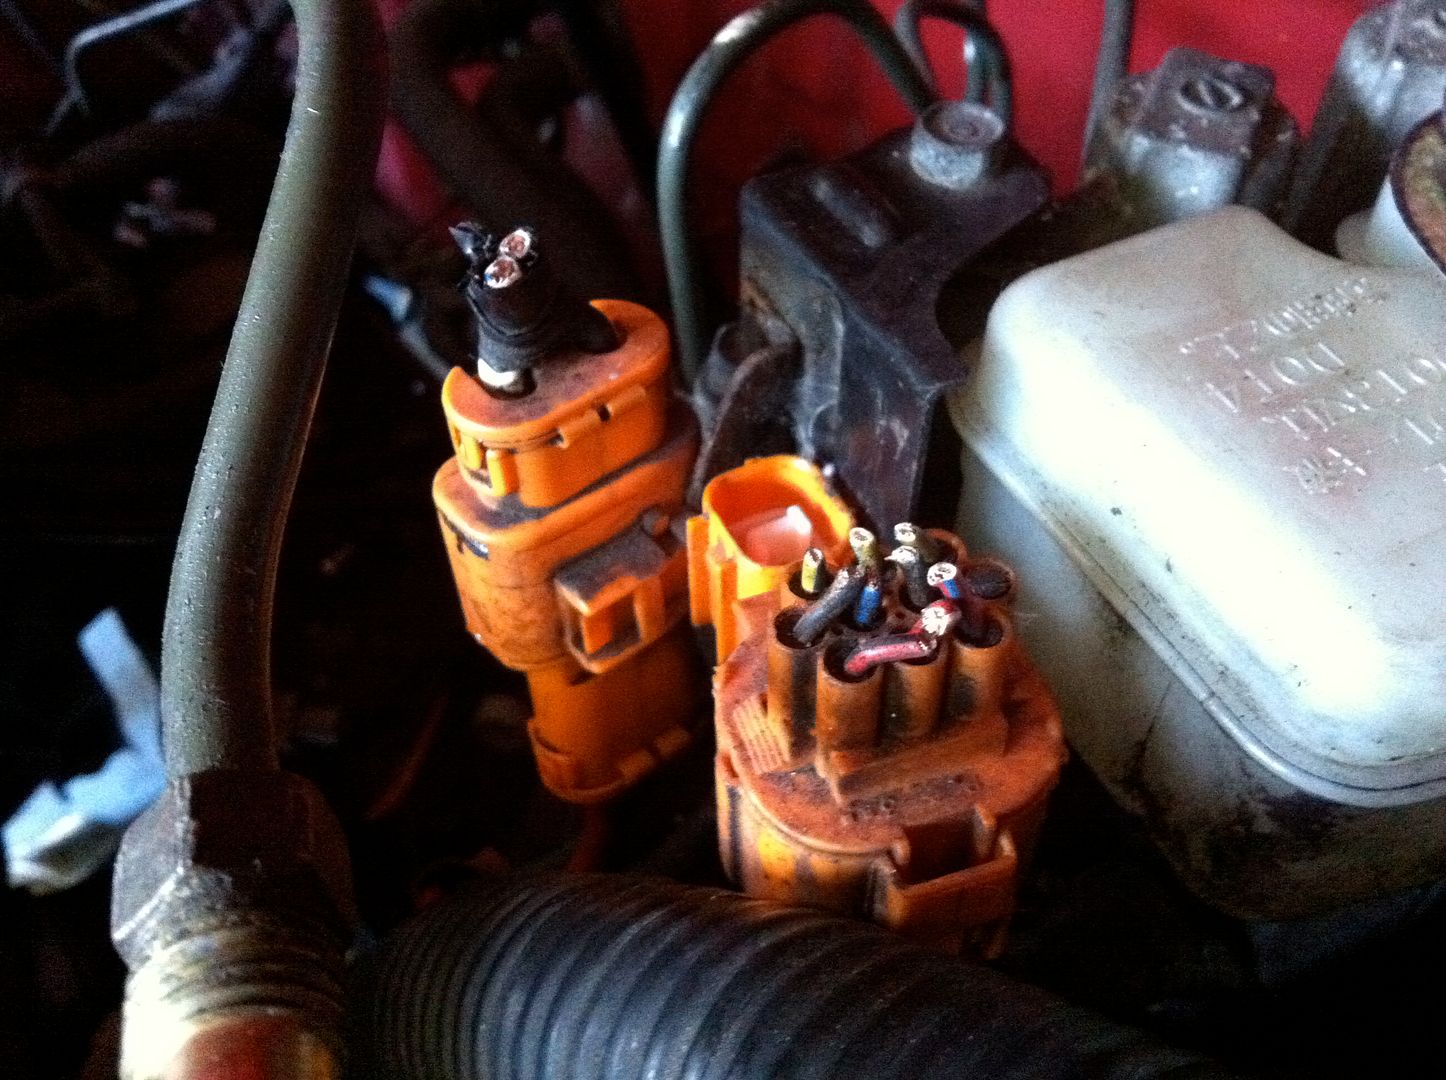
Firstly, remove the three orange harness plugs from the top, mine were stuck fast and I literally could not budge them. Again, it was being binned so I had enough and cut them off! :lol:

Image

Image


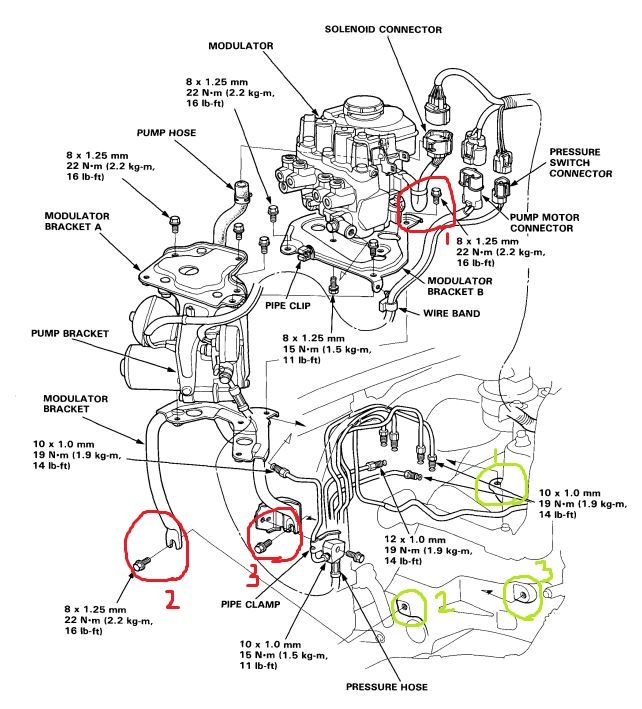
It was kind of hard to take pictures of where the three mounting bolts are for this as I could barely see them myself. This handy snippet from the manual shows it clearly:
Image


Then lift it out and nearly break your back doing so, it weighs a ton! The fruits of my labour:
Image


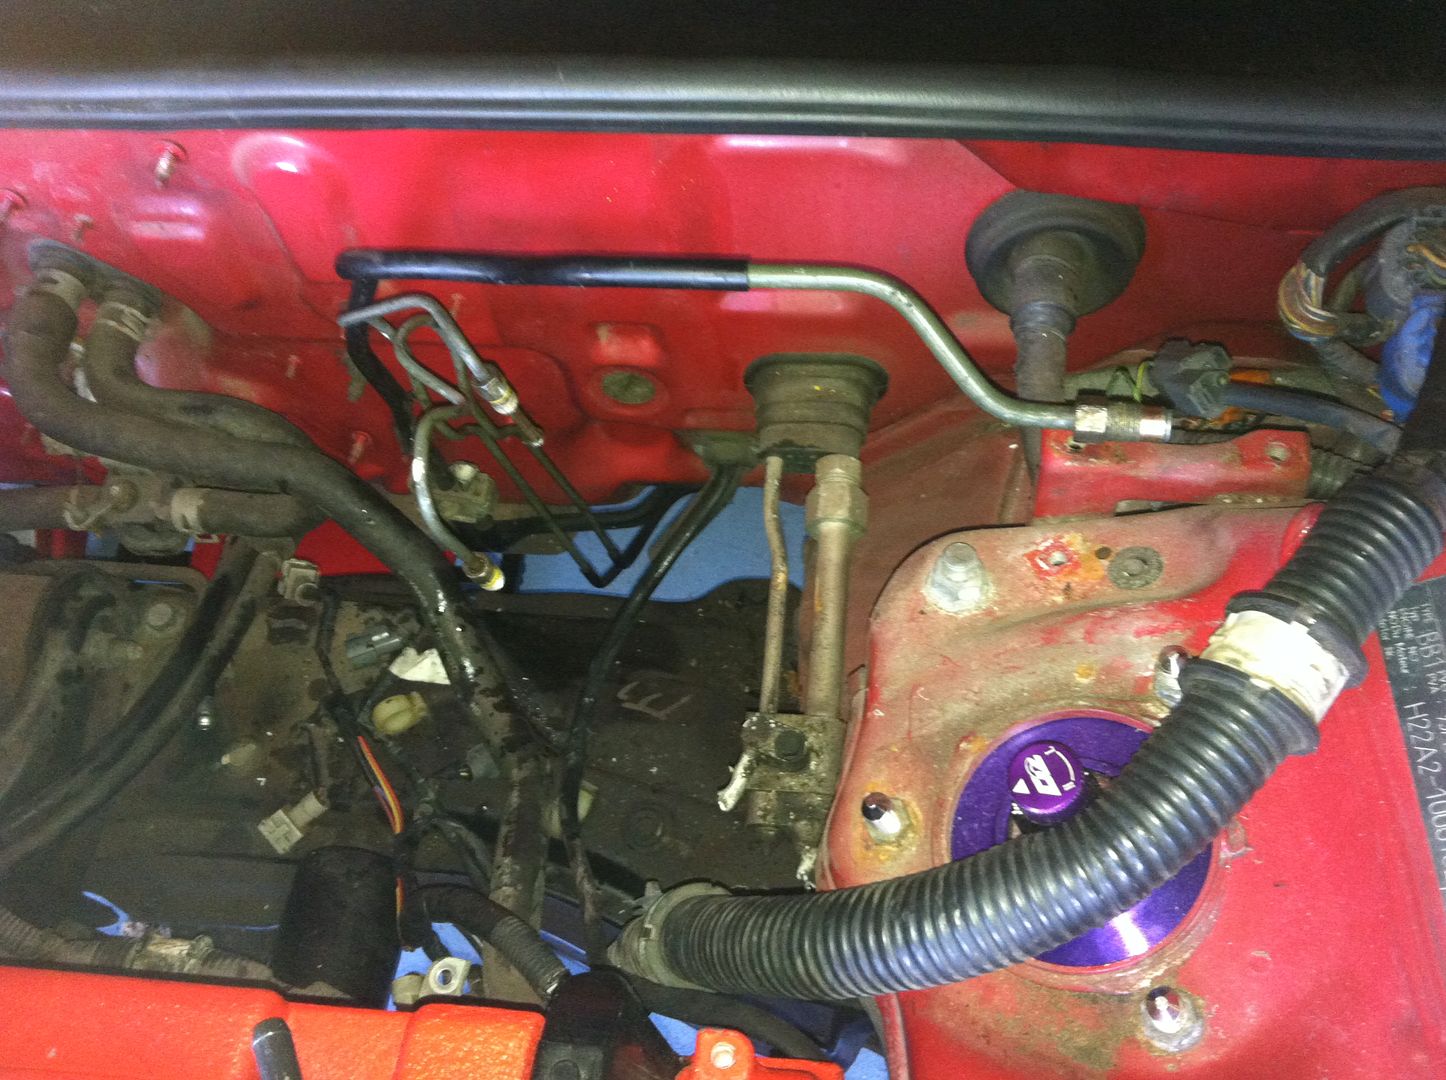
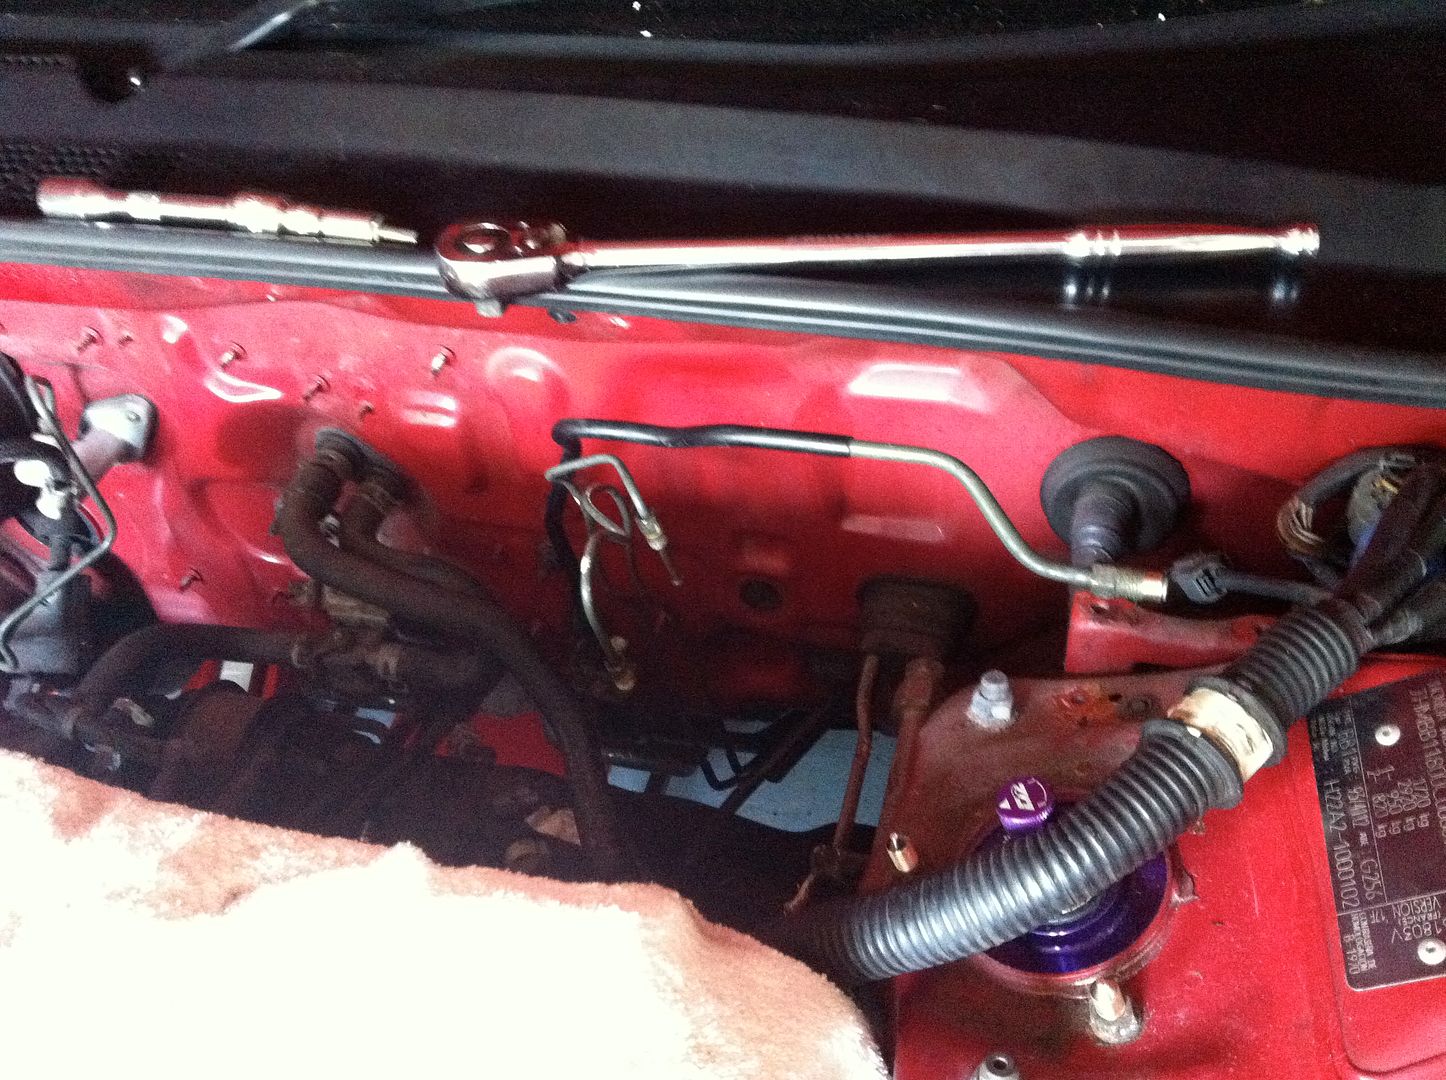
And what it left me with:

Image

Image

Image

Image


And then finally I deserved one of these:

Image


More updates to come and another round up of more parts I’ve bought. A few plans and items I’ve posted in here have changed. :wink:


Cheers,

Rob
User avatar
NafemanNathan
LotM Winner
Posts: 20144
Joined: Sun Aug 08, 2010 9:37 pm
My Generation: 0G
Location: Yeovil, Somerset
Has thanked: 8 times
Been thanked: 124 times

Post by NafemanNathan » Thu Jul 25, 2013 4:30 pm

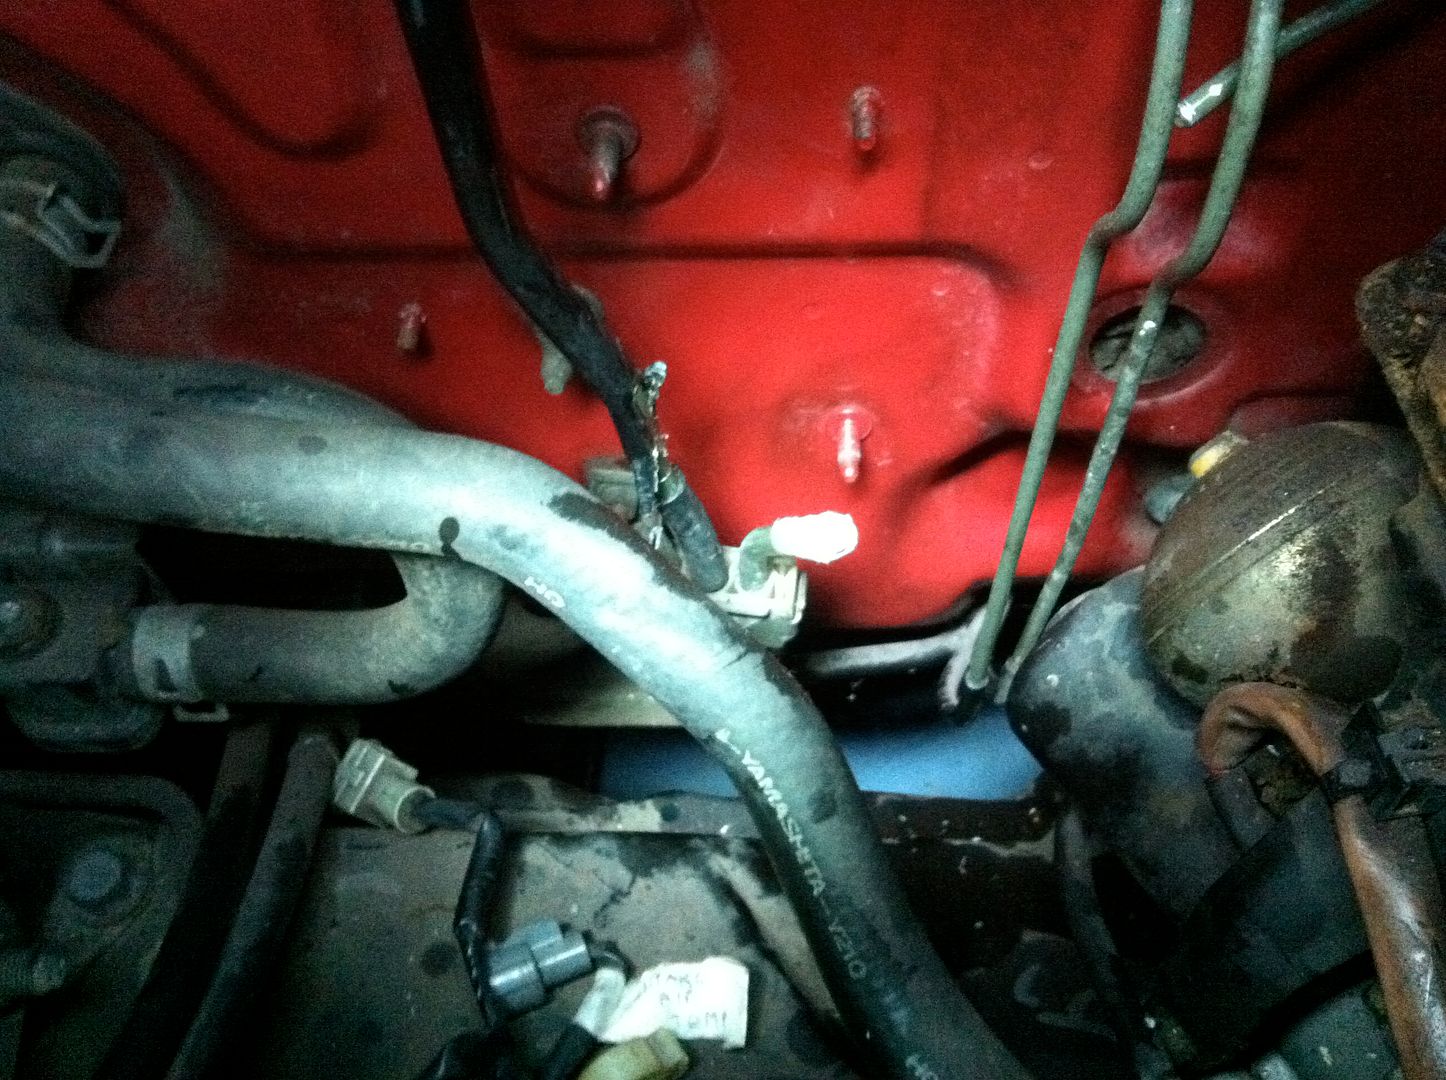
I love a good bit of bulkhead ;-)

User avatar
Merlin
Moderator
Posts: 12393
Joined: Fri Aug 06, 2010 9:04 am
My Generation: 5G
PSN GamerTag: Merlinbadman
Location: Edinburgh
Has thanked: 68 times
Been thanked: 303 times

Post by Merlin » Thu Jul 25, 2013 4:38 pm

UPDATE!! nice going.

I didn't realise your car was a UK.
Image
BA8......... BB4......... BB8.........The JDM Muscle Bus

User avatar
nucleustylzlude
Moderator
Posts: 4013
Joined: Wed Aug 11, 2010 11:46 pm
My Generation: 4G
Location: Bristol, UK!
Been thanked: 7 times
Contact:

Re: Supercharged Mugen Lude (25/07/13 Update)

Post by nucleustylzlude » Thu Jul 25, 2013 5:03 pm

NafemanNathan wrote:I love a good bit of bulkhead ;-)
That's what I've heard! :lol:

Merlin wrote:UPDATE!! nice going.
UPDATE INDEED! Bearing in mind I did a load of this a while back now. Still got more to write and upload pics of to get up to date but I'm getting there.

Merlin wrote:I didn't realise your car was a UK.
Really? Only signs left (bar the VIN plate you've just clocked) is the two piece glass headlights and the rear license plate recess.

User avatar
si import
Supporter 2016
Posts: 1255
Joined: Sun Jan 29, 2012 4:47 pm
My Generation: 4G
Location: Essex
Has thanked: 2 times
Been thanked: 23 times

Post by si import » Thu Jul 25, 2013 5:06 pm

nice update 8-)
http://www.ludegeneration.co.uk/profile ... t4910.html
BB4 Si Vtec LSD . 263.4 bhp - 192.7 lb/ft .13.5@105mph
BB1 Si Vtec LSD. R.I.P . 1/4mile 14.1451 secs @ 99.71mph
BB4 Si Vtec LSD Turbo . R.I.P
Image

User avatar
mart609
LotM Winner
Posts: 3354
Joined: Sun Aug 08, 2010 10:22 pm
My Generation: 4G
XBOX GamerTag: mart609
PSN GamerTag: mart609
Location: Dudley, West Mids
Has thanked: 9 times
Been thanked: 14 times
Contact:

Post by mart609 » Thu Jul 25, 2013 5:35 pm

Nice update 8-)

Post Reply

Return to “Lude Profiles”