BUILD PART 5) - Build (Cont'd) – ABS removal
Some actual work!
Well, well, I finally found some time to work on the lude (a while ago!) and finally got going on removing the ABS system, pretty much the only thing left to remove in the engine bay!
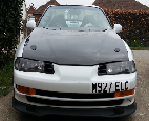
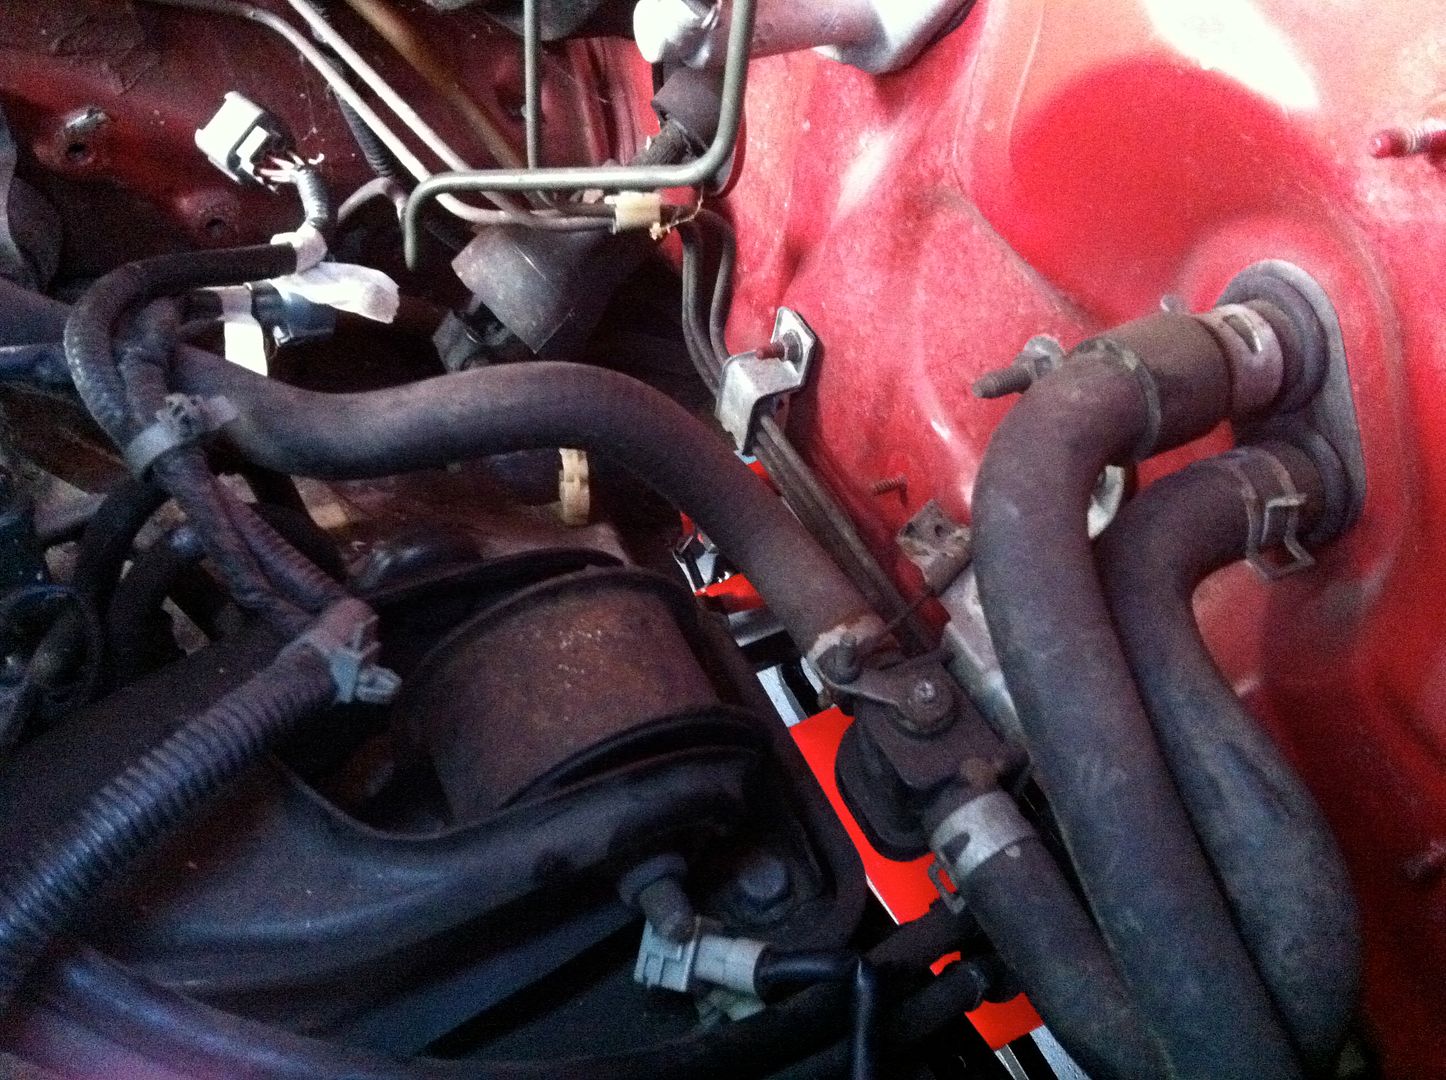
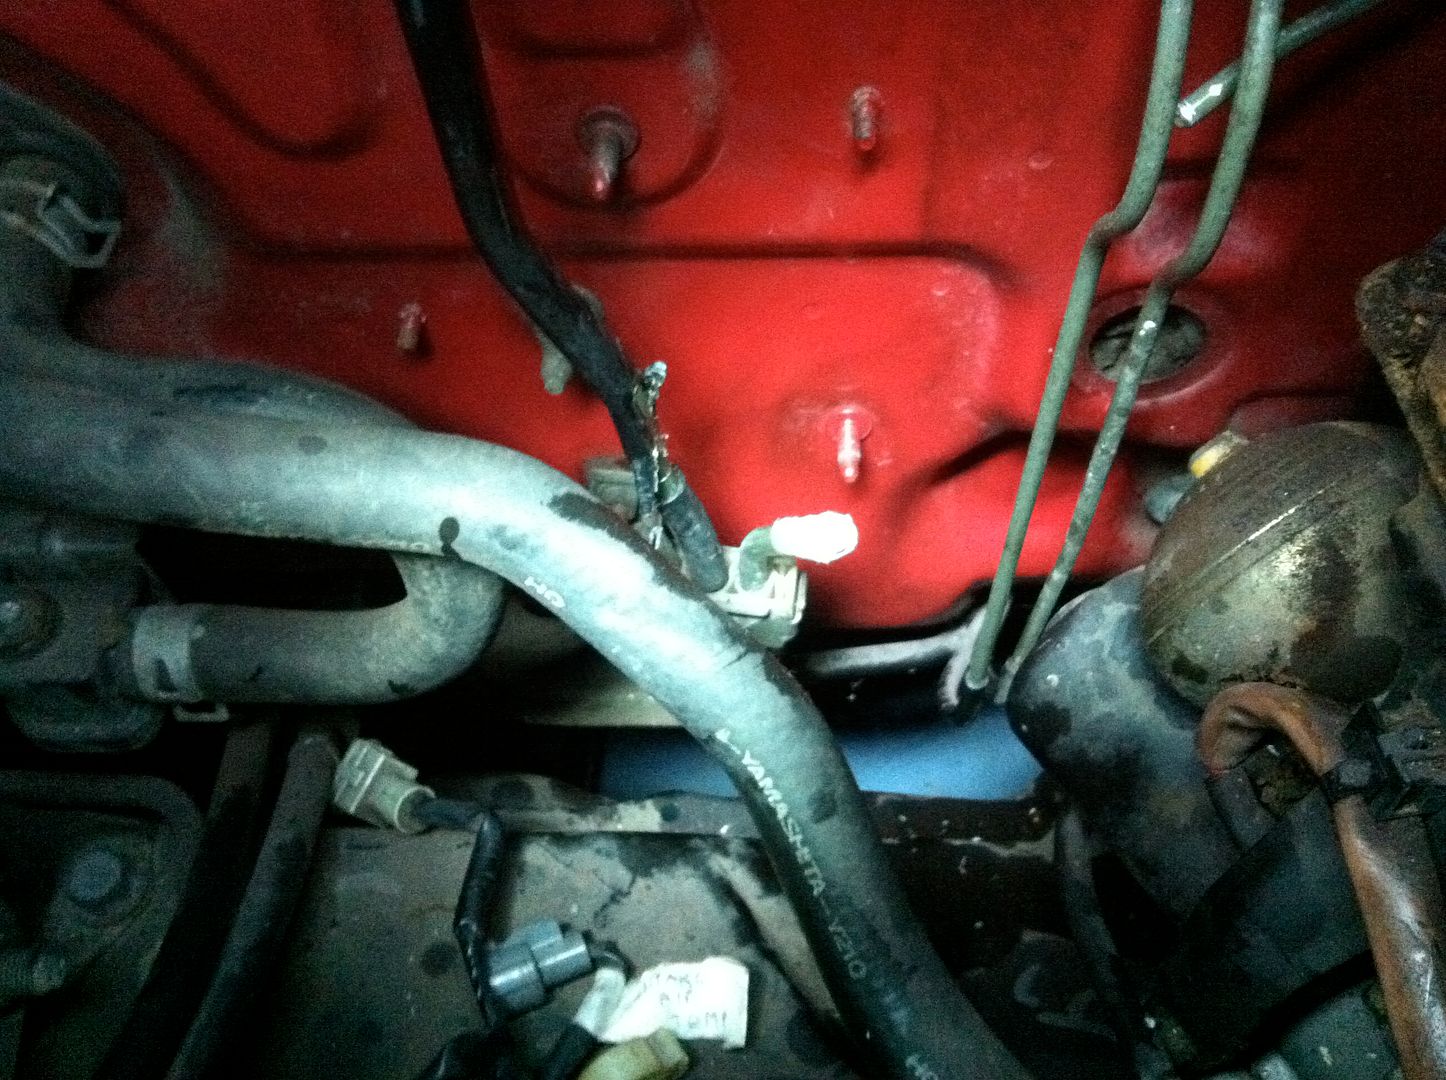
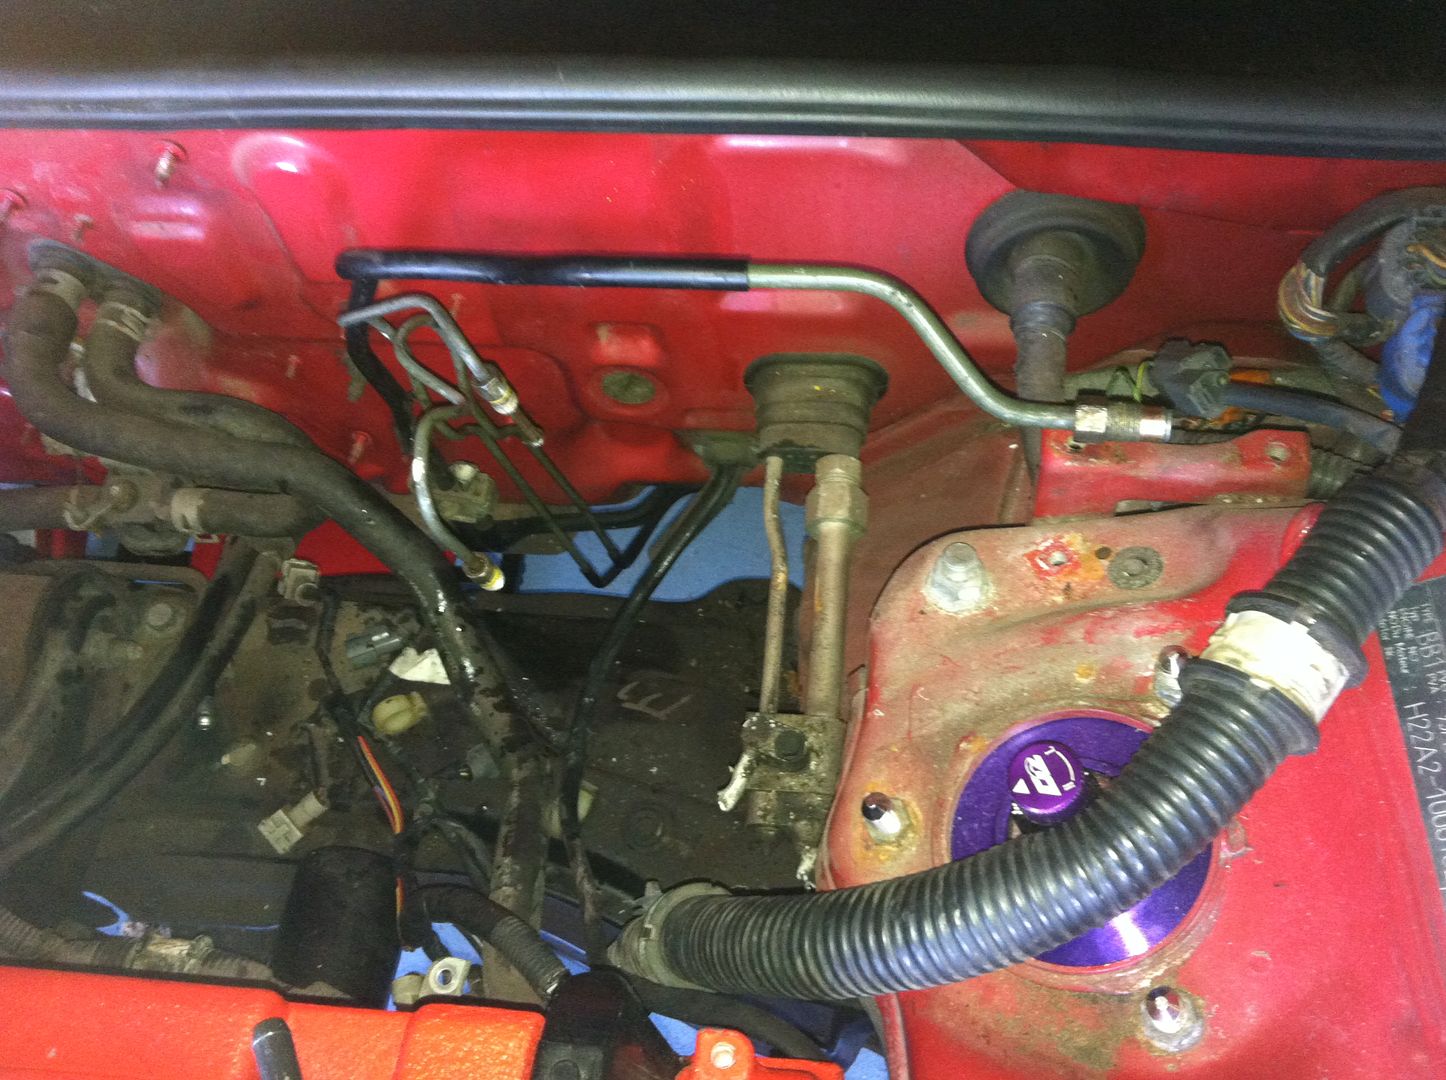
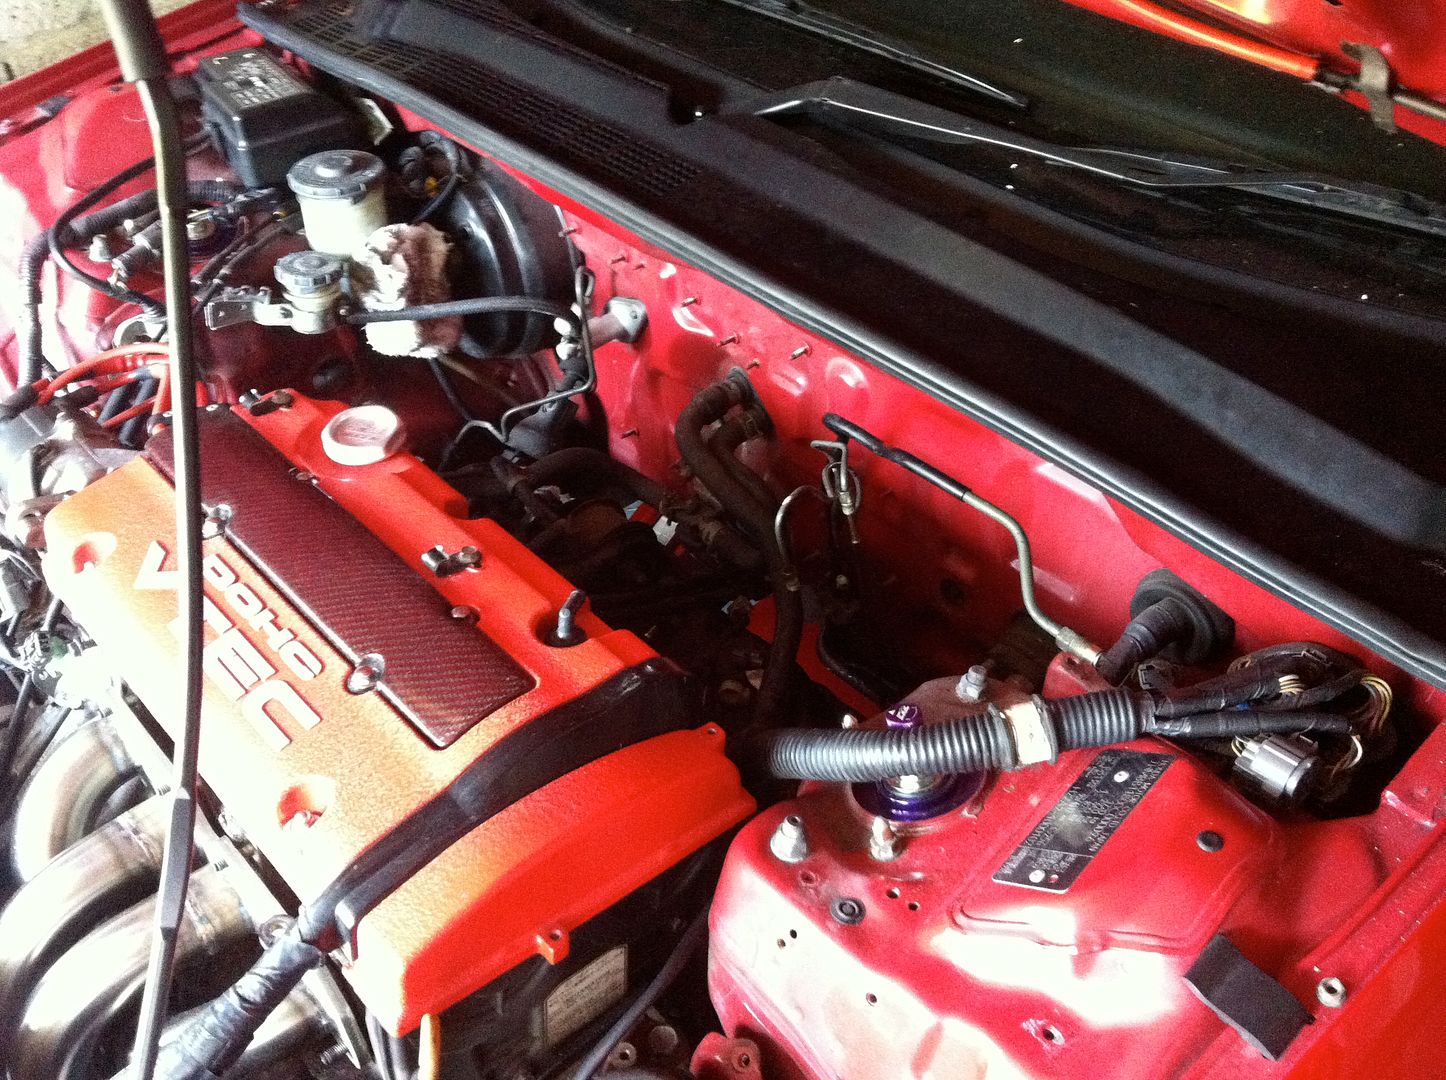
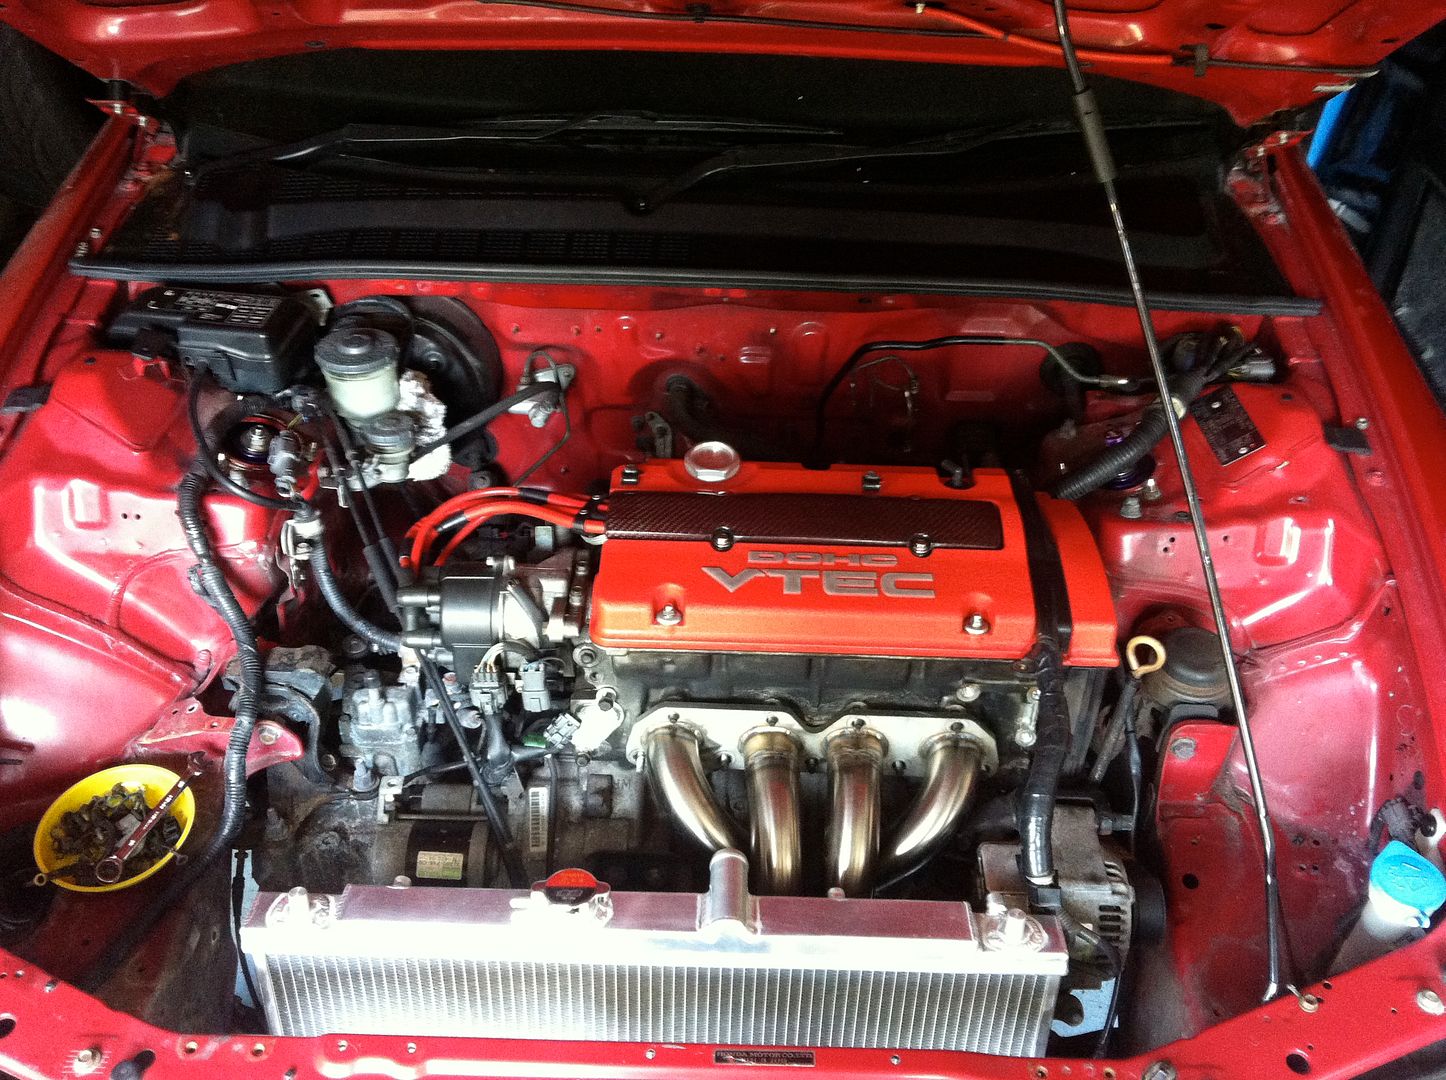
Here is where the engine bay was left, looking very bare indeed! The ABS unit is at the top right of the picture against the firewall.
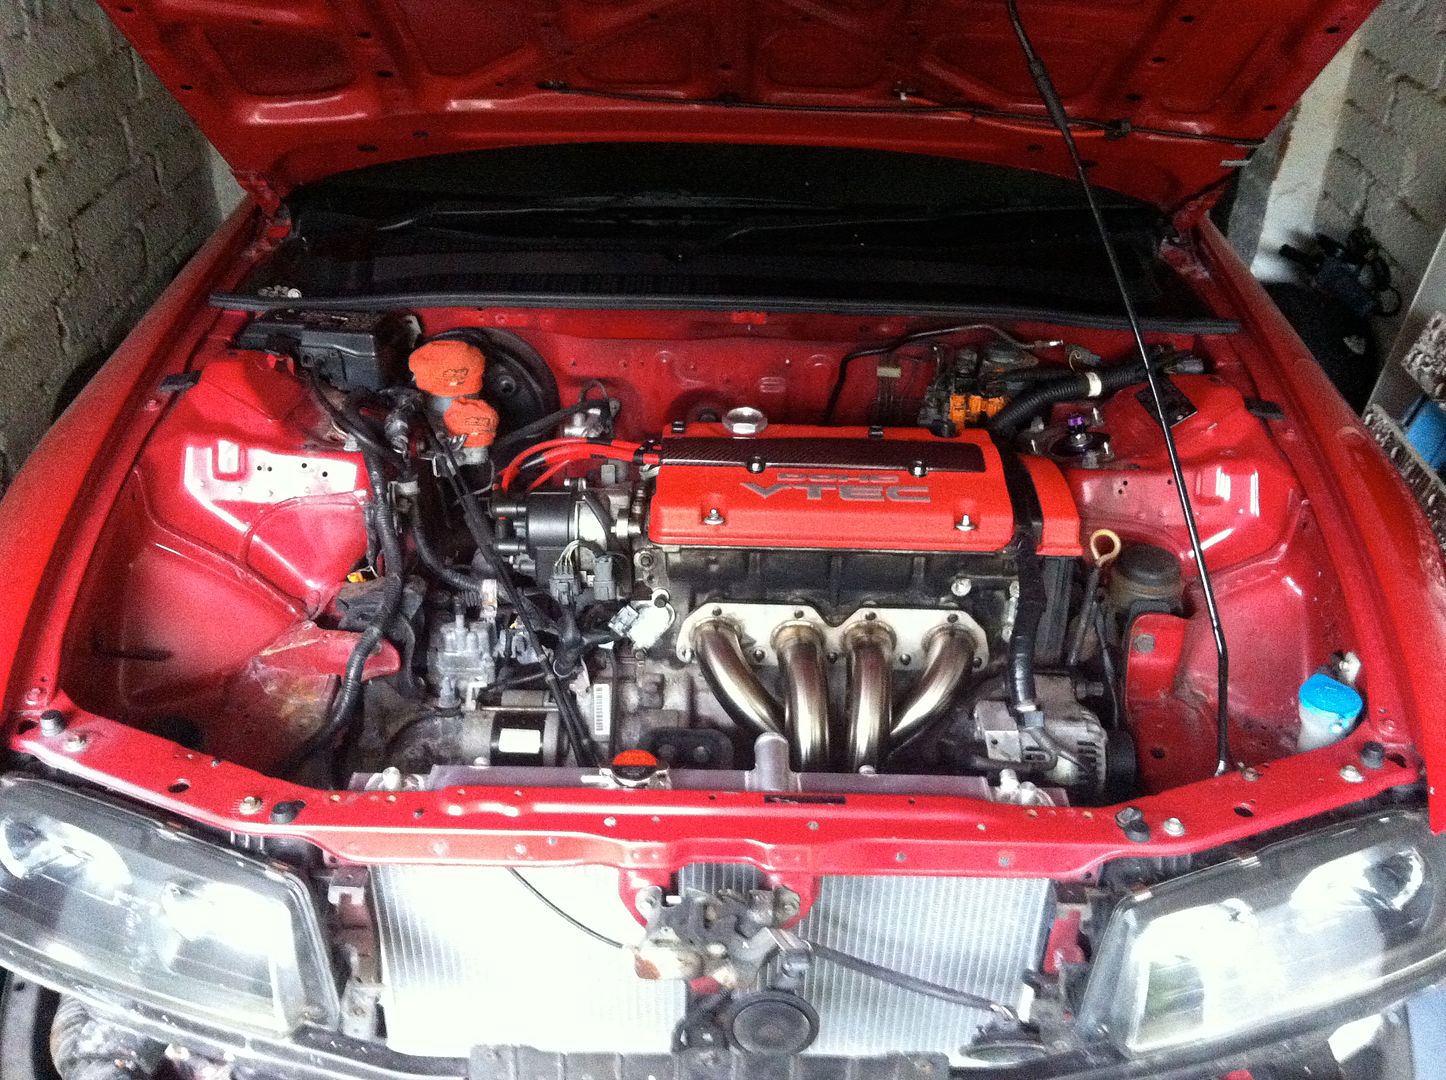
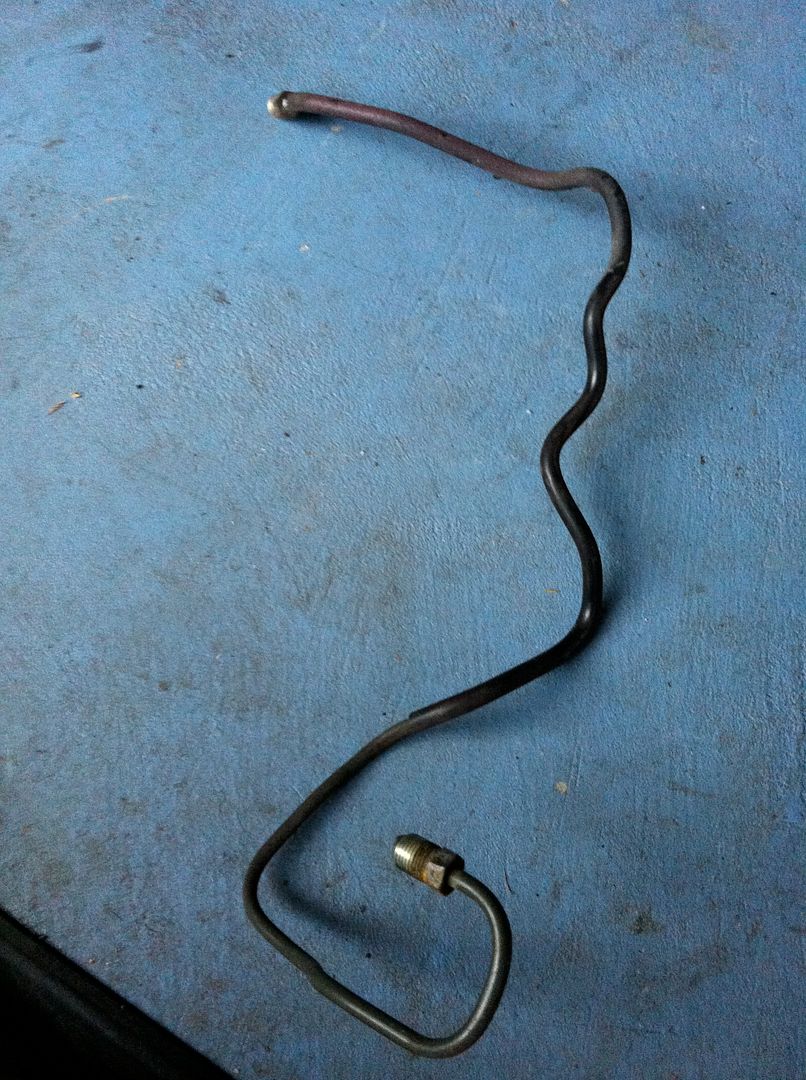
So where to start? I chose the shortest line which goes from the ABS unit to the passenger front wheel. The flare nuts can be very stiff as they generally have never been removed and are under pressure all their lives. However the two either end of this line came loose really easily. Would the others follow suit?

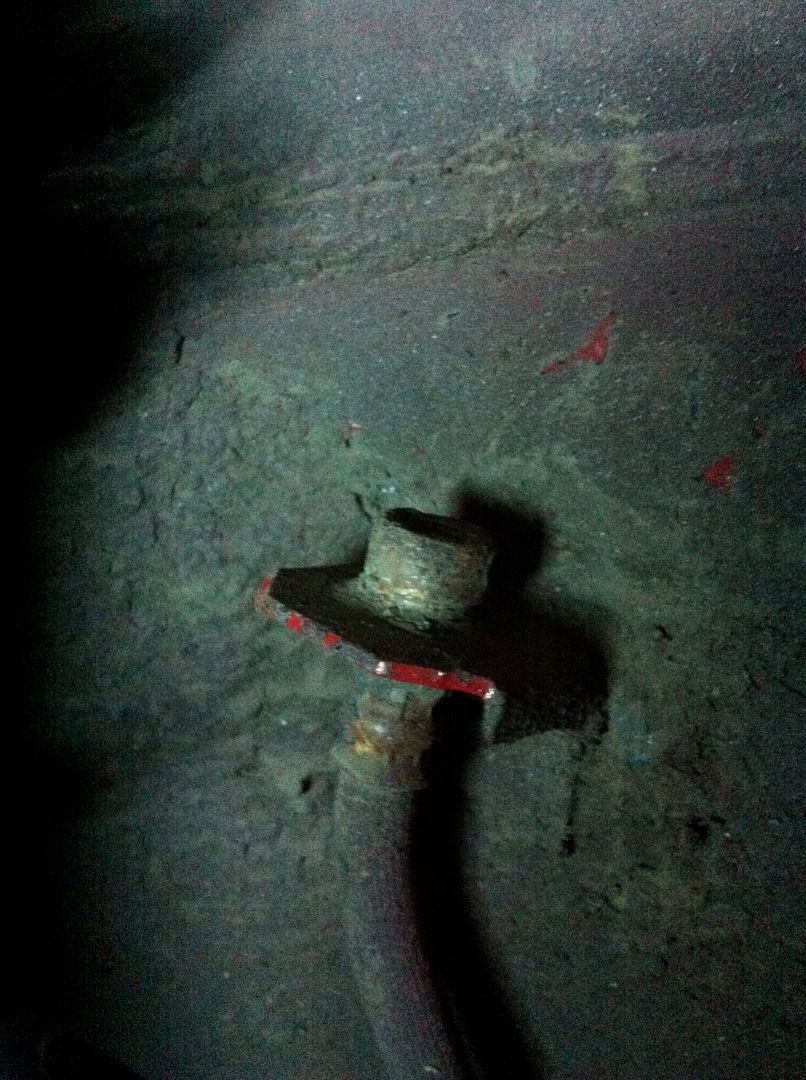
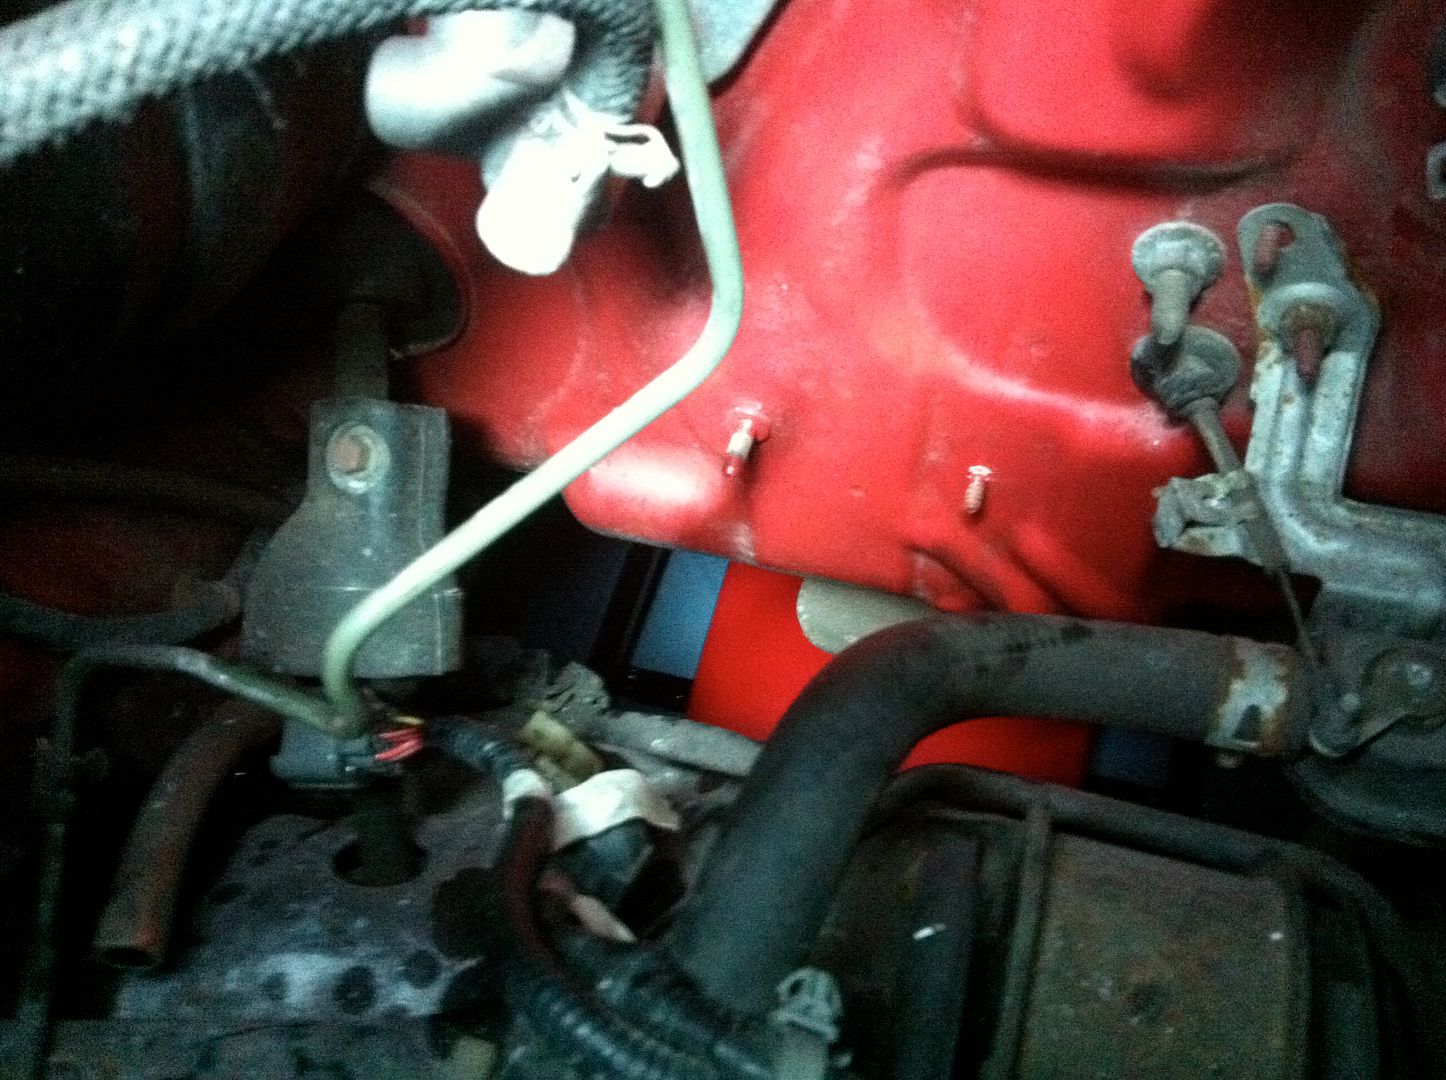
Started at the ABS unit, undo the nut at the back, closest to the firewall:
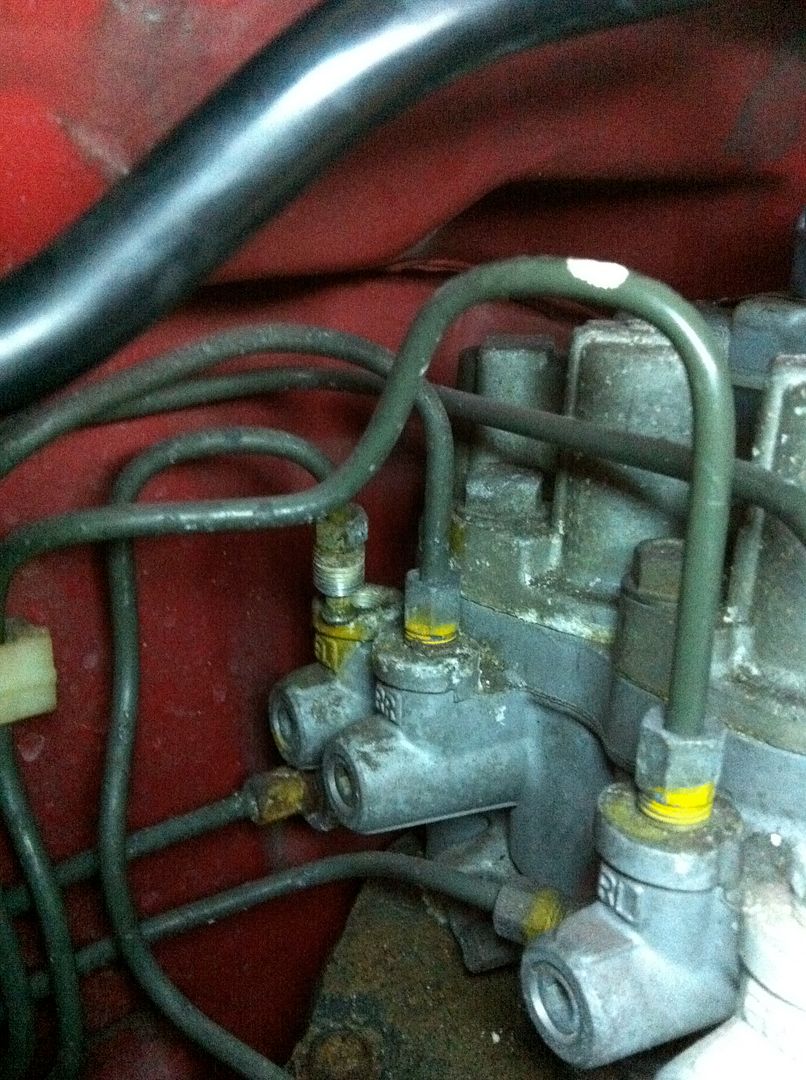
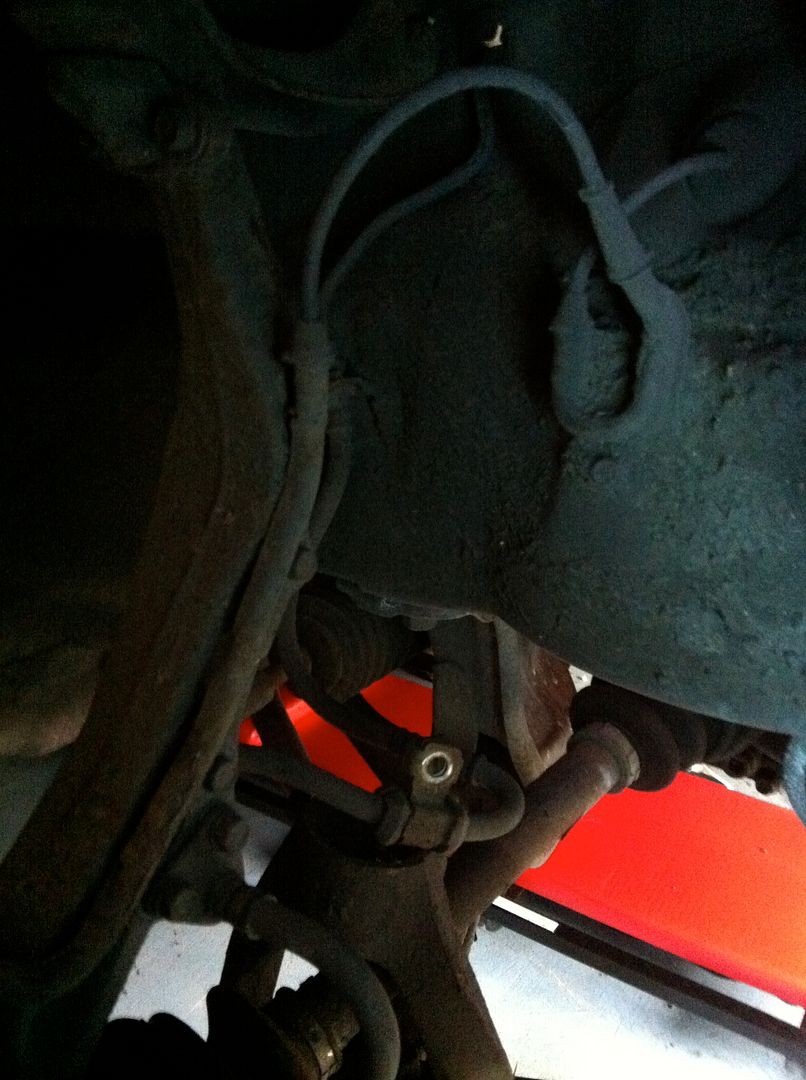
Then the nut in the wheel well which connects to the rubber hose to the wheel:

Once the line is loose either end, free the line from any brackets, not sure if there was one for this short piece of pipe. Then I managed to wriggle this one out in one piece without bending it. I guess it was in faith that they could be sold as replacements. That soon turned to cr@p on the next few lines though!

While I was in the wheel wells I also decided to remove the rubber flexy hoses and the ABS sensors.
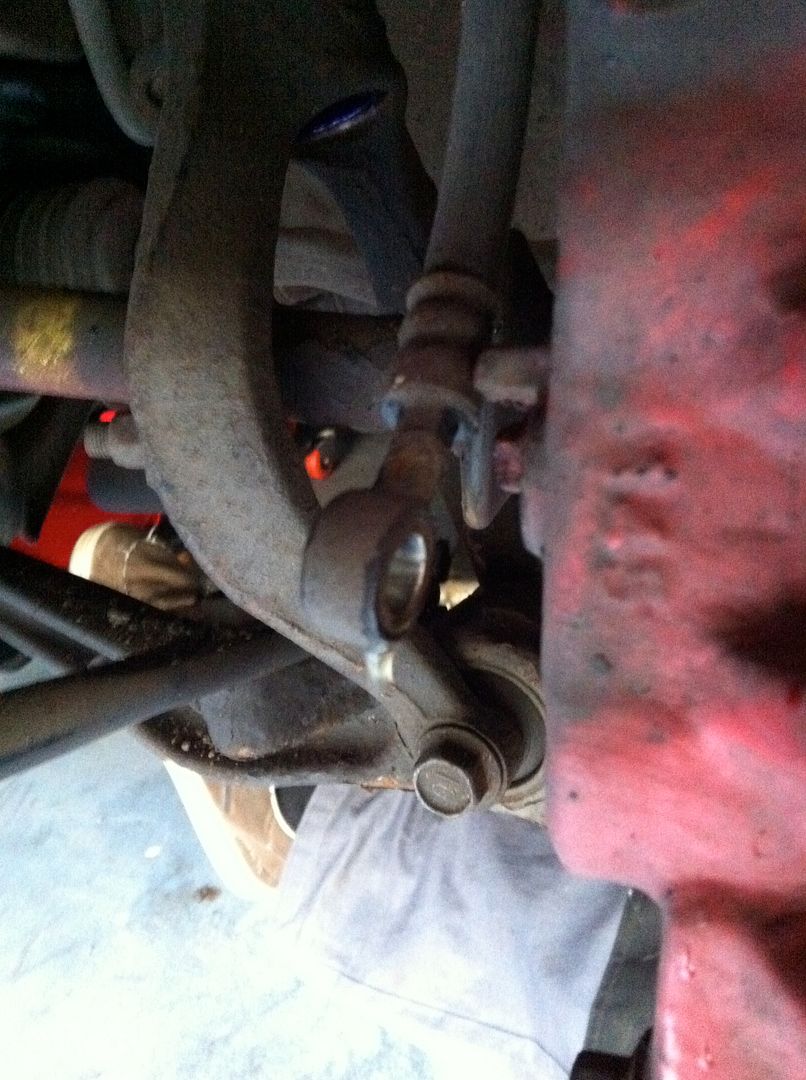
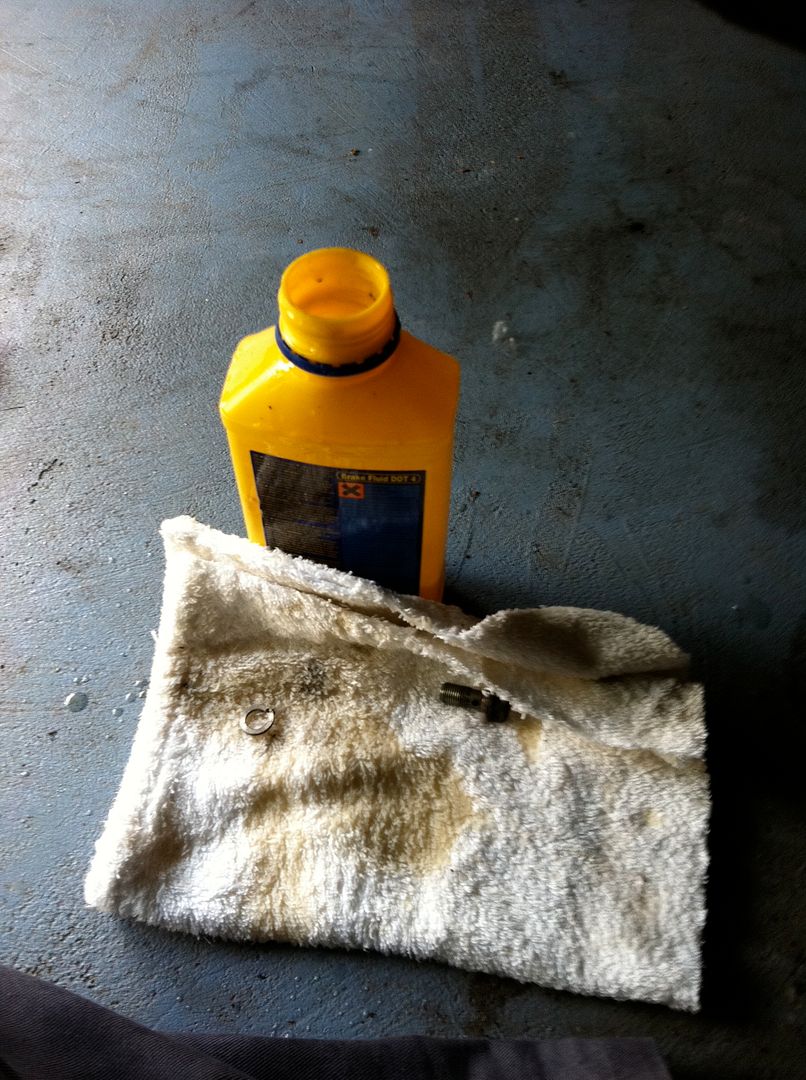
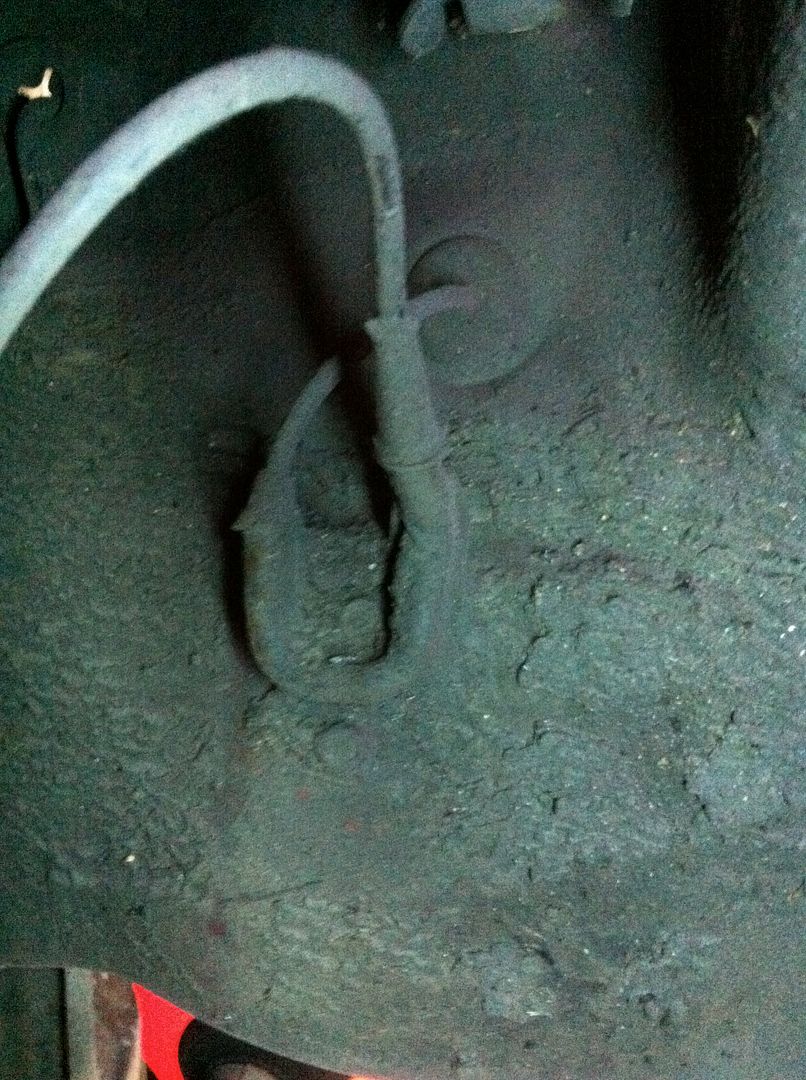
Flexy hoses first, undo the banjo bolt at the caliper. Have a rag and a bottle to catch the brake fluid. You can use clamps and stoppers to hold the fluid in place but seeing as I’m removing everything I let it drain (takes a while!):
Then back to the other end and remove the retaining clip, just pulls out with some pliers.

The old clips were looking tired and corroded, and figured I’d get some new ones. I actually found a set in with a box of random Honda parts I picked up on ebay a while back, a stock clearance. They paid for the whole box of parts (small box mind) just using these clips!

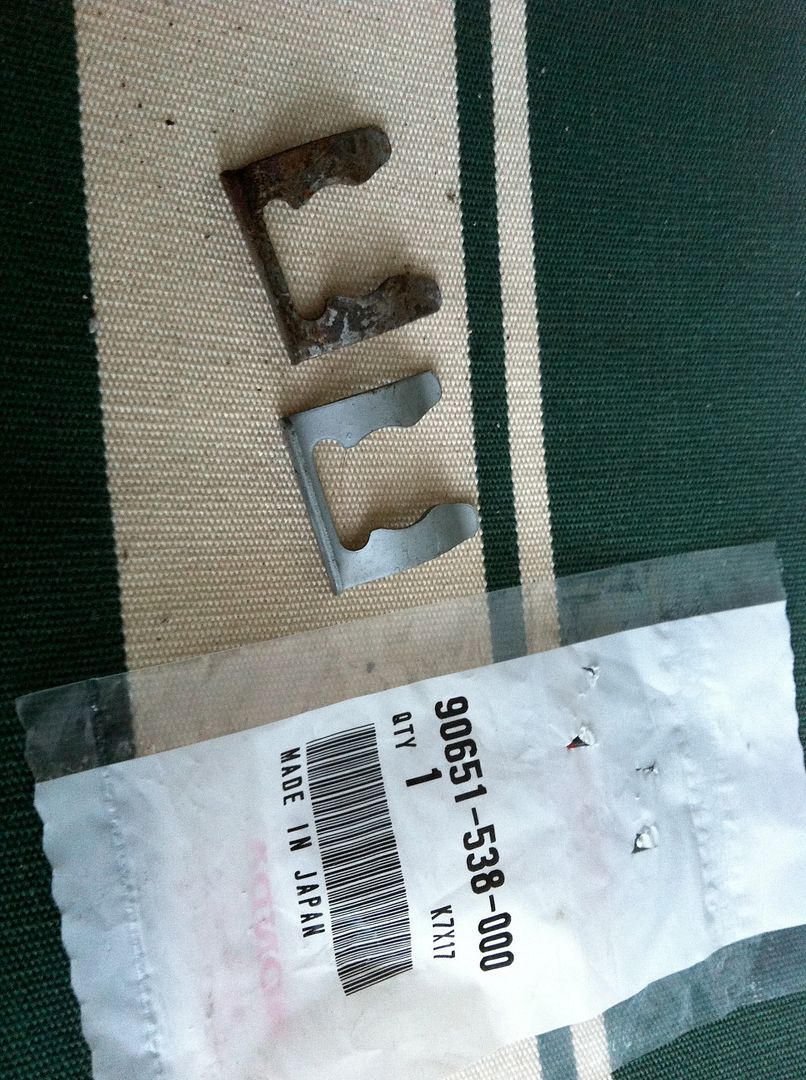
Part number there if people need them.

Then there are three brackets to undo – all the usual 10mm retaining bolts and voila:
Then onto the ABS sensor. Remove the plug in the engine bay and then head into the wheel well again:

Pop the rubber bung out that goes to the engine bay, then remove the mount bolts and off it comes.
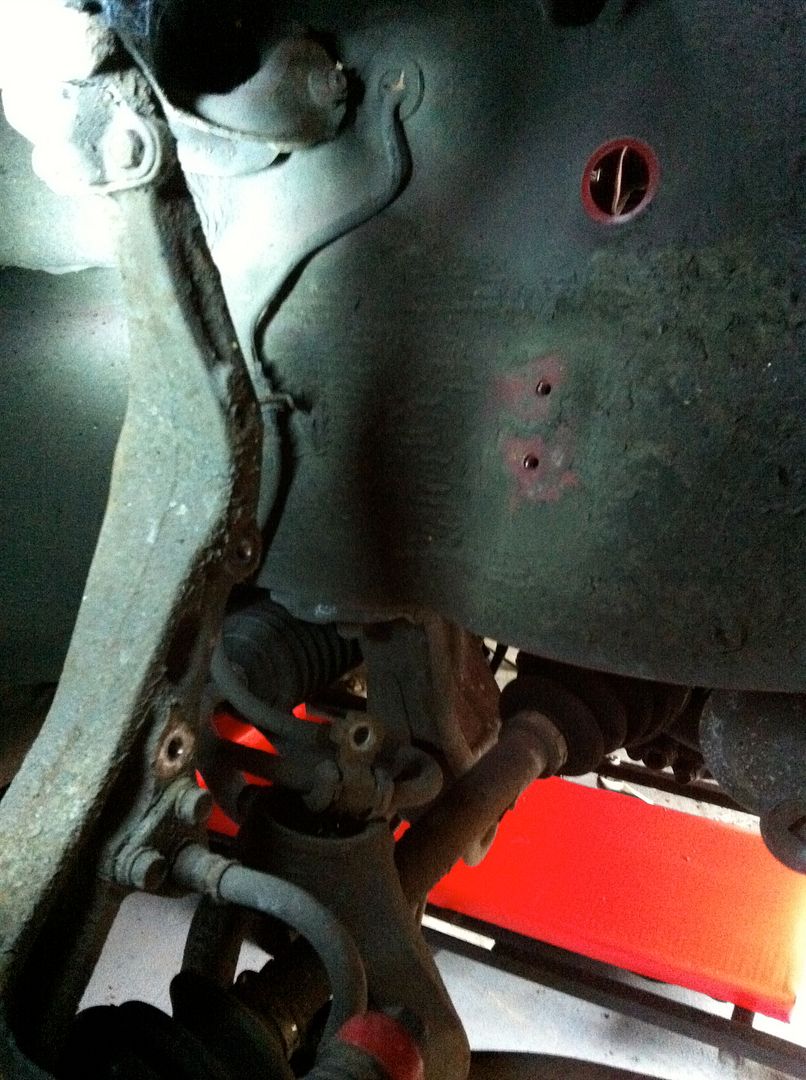
This leaves you with a hole to the engine bay and two exposed metal bolt holes from the first bracket. I plugged the large holes with new rubber bungs – 25mm diameter ones for reference.
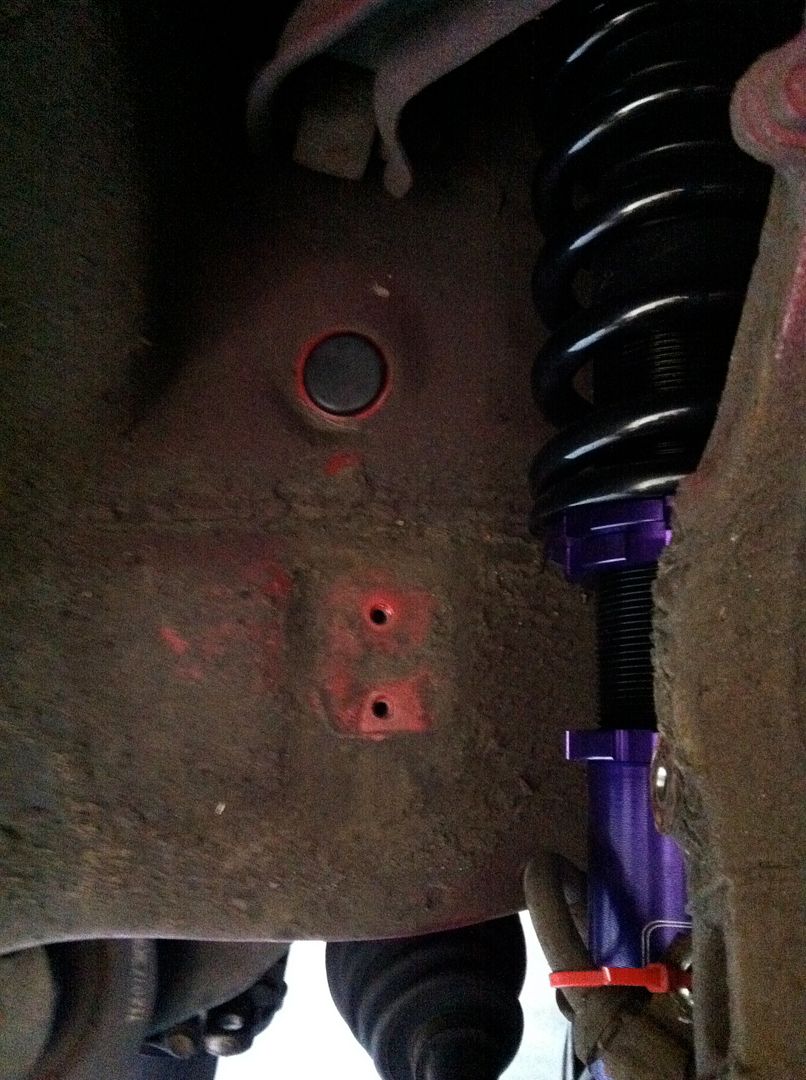
I also through the old bolts back in the bracket holes with a washer to cover them up. No pics though. The wheel wells need a good pressure wash and seal, which is at the bottom of the list of to dos once it’s back on the road.
So that’s the easy bits. No onto the other longer pipes.

See here the number of brackets and other items these pipes weave in and out of, this looks fun!
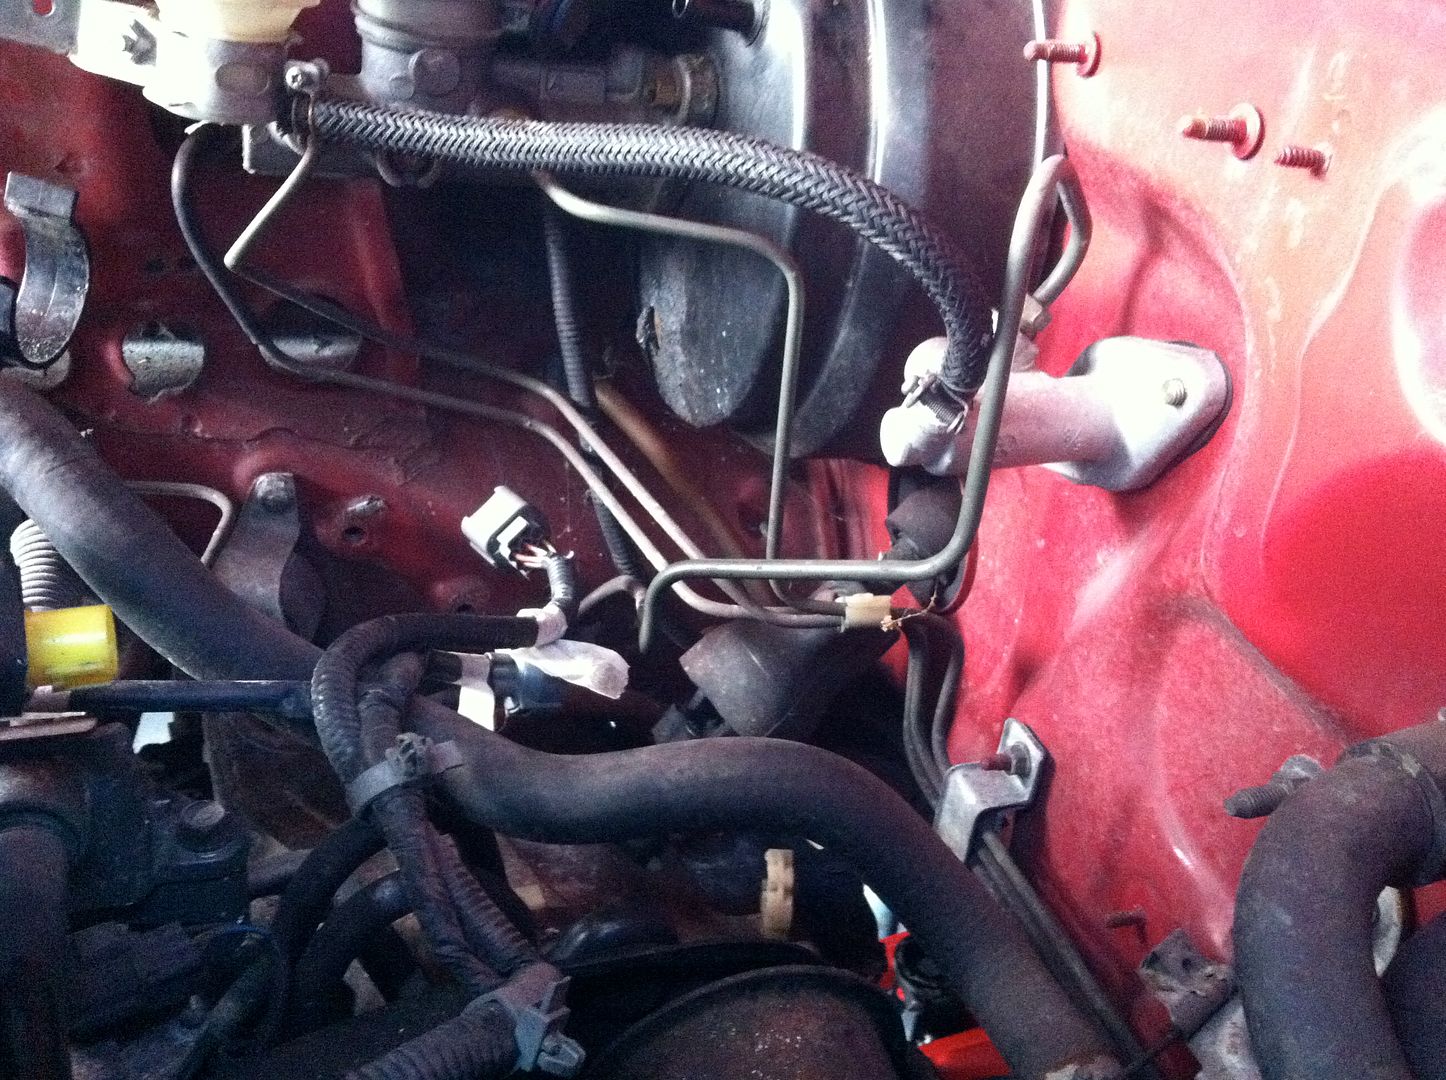
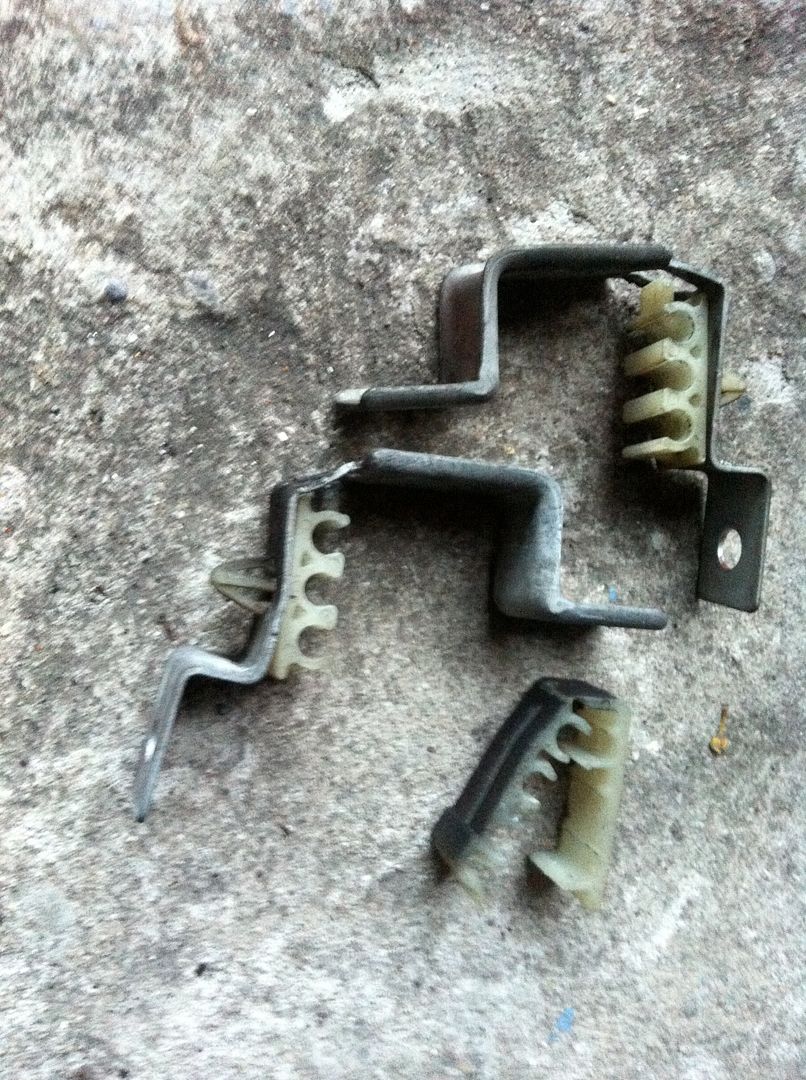
First up remove all the pipe brackets. I’m binning these as I have some nice shiny new rubber lined aluminium P clips.
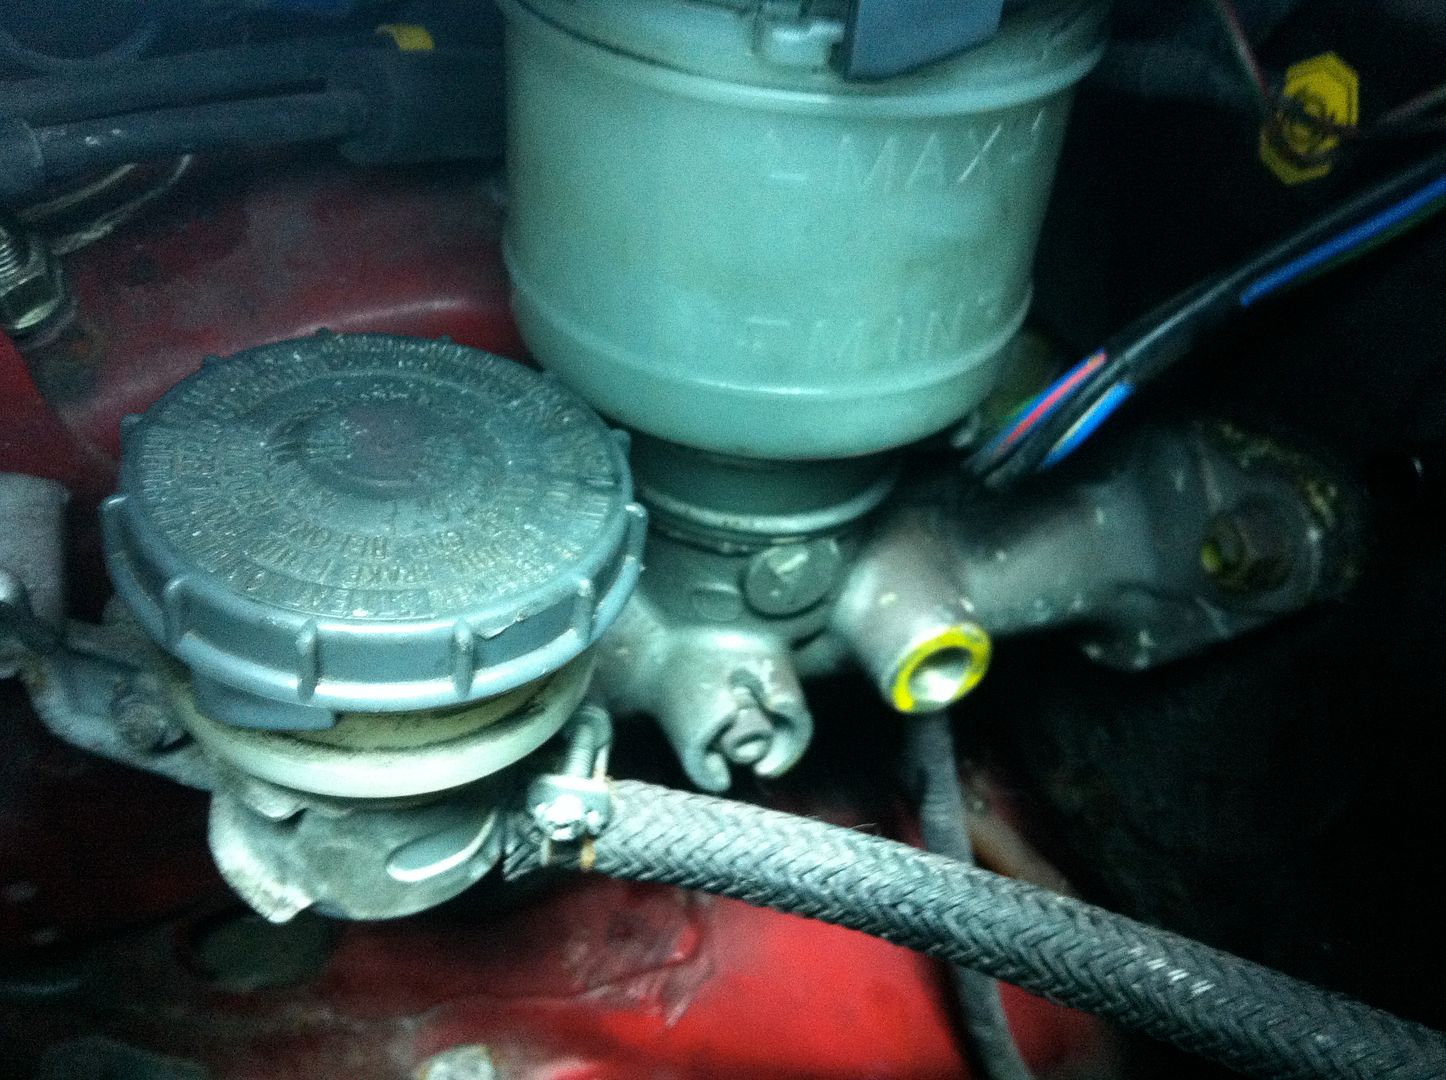
There are 5 lines to remove at the ABS unit now, two that route under the car to the rear calipers, two which route back to the drivers side to the master cylinder and another one routed back to the drivers side to the front drivers side caliper.
As you can see, I had one flare nut which just wouldn’t budge, luckily I am making new lines so I could just cut it. Thank god it wasn’t one of the rears lines as I’m retaining these for now.
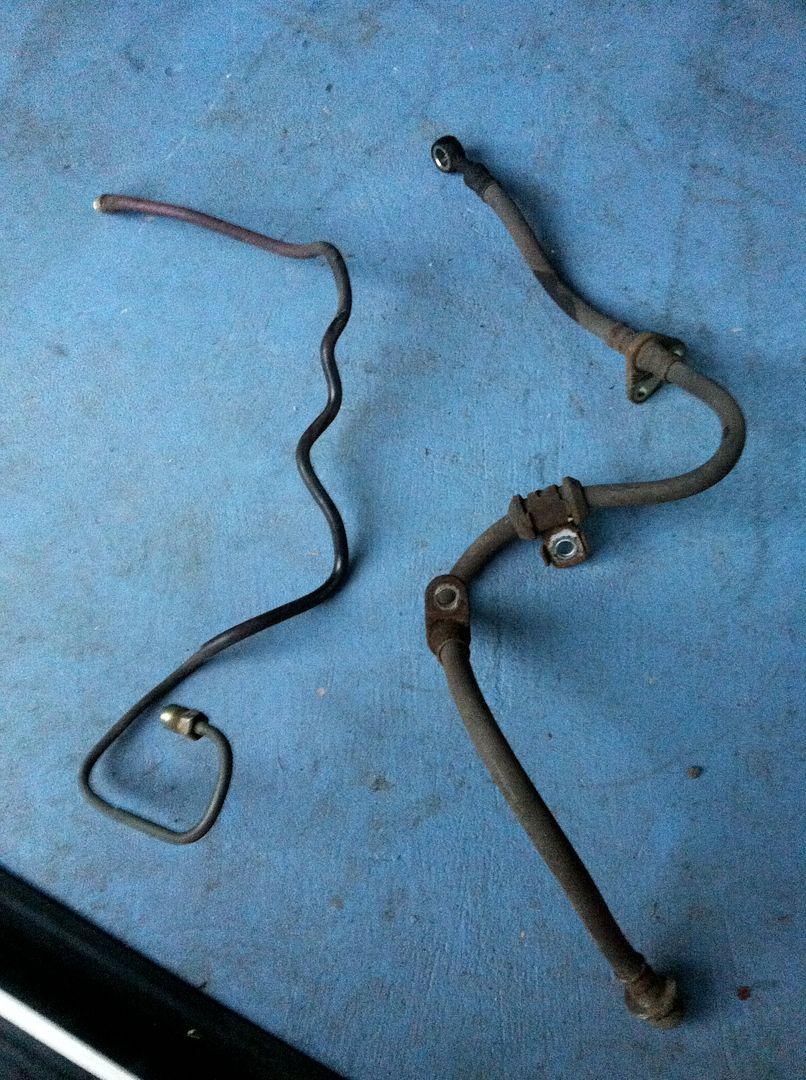
Not much to say in terms of a how-to, just try and get out the two M/C lines and front drivers caliper line. It’s a pain but the ability to bend and cut lines really helped. And you will be rewarded with:

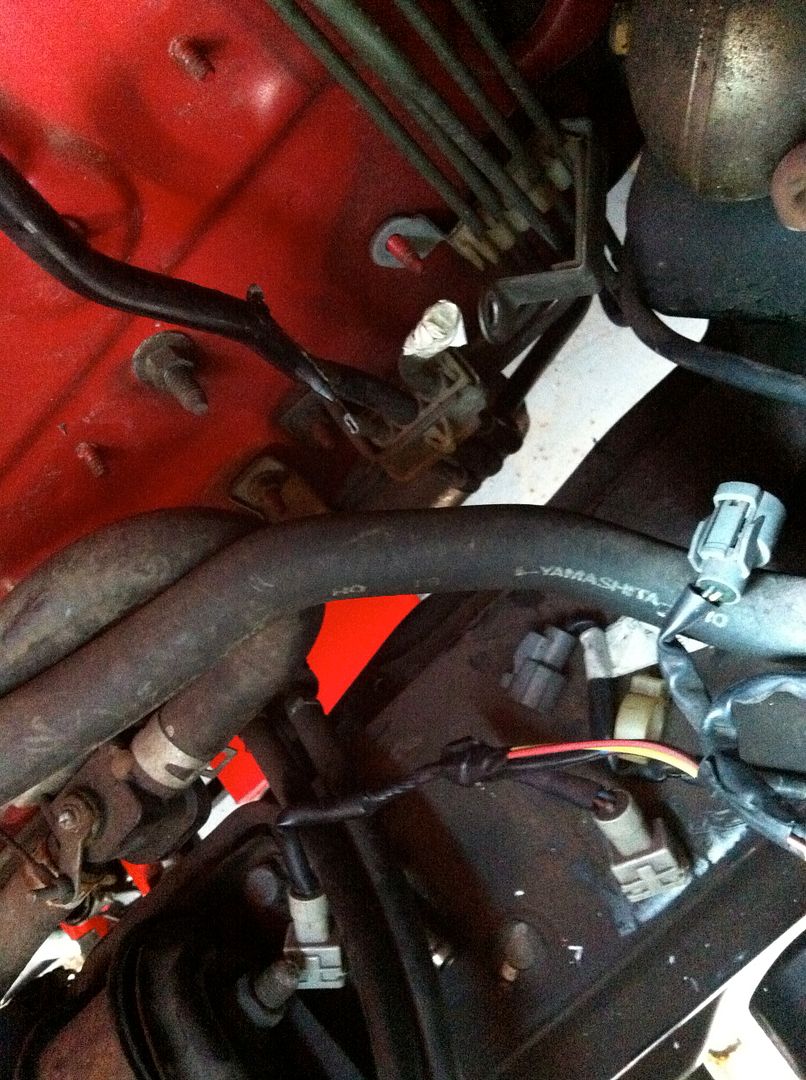
The only lines left are the two coming from the rear directly next to the pump, the two fuel supply and return lines and the clutch m/c hard pipe (more on that later).
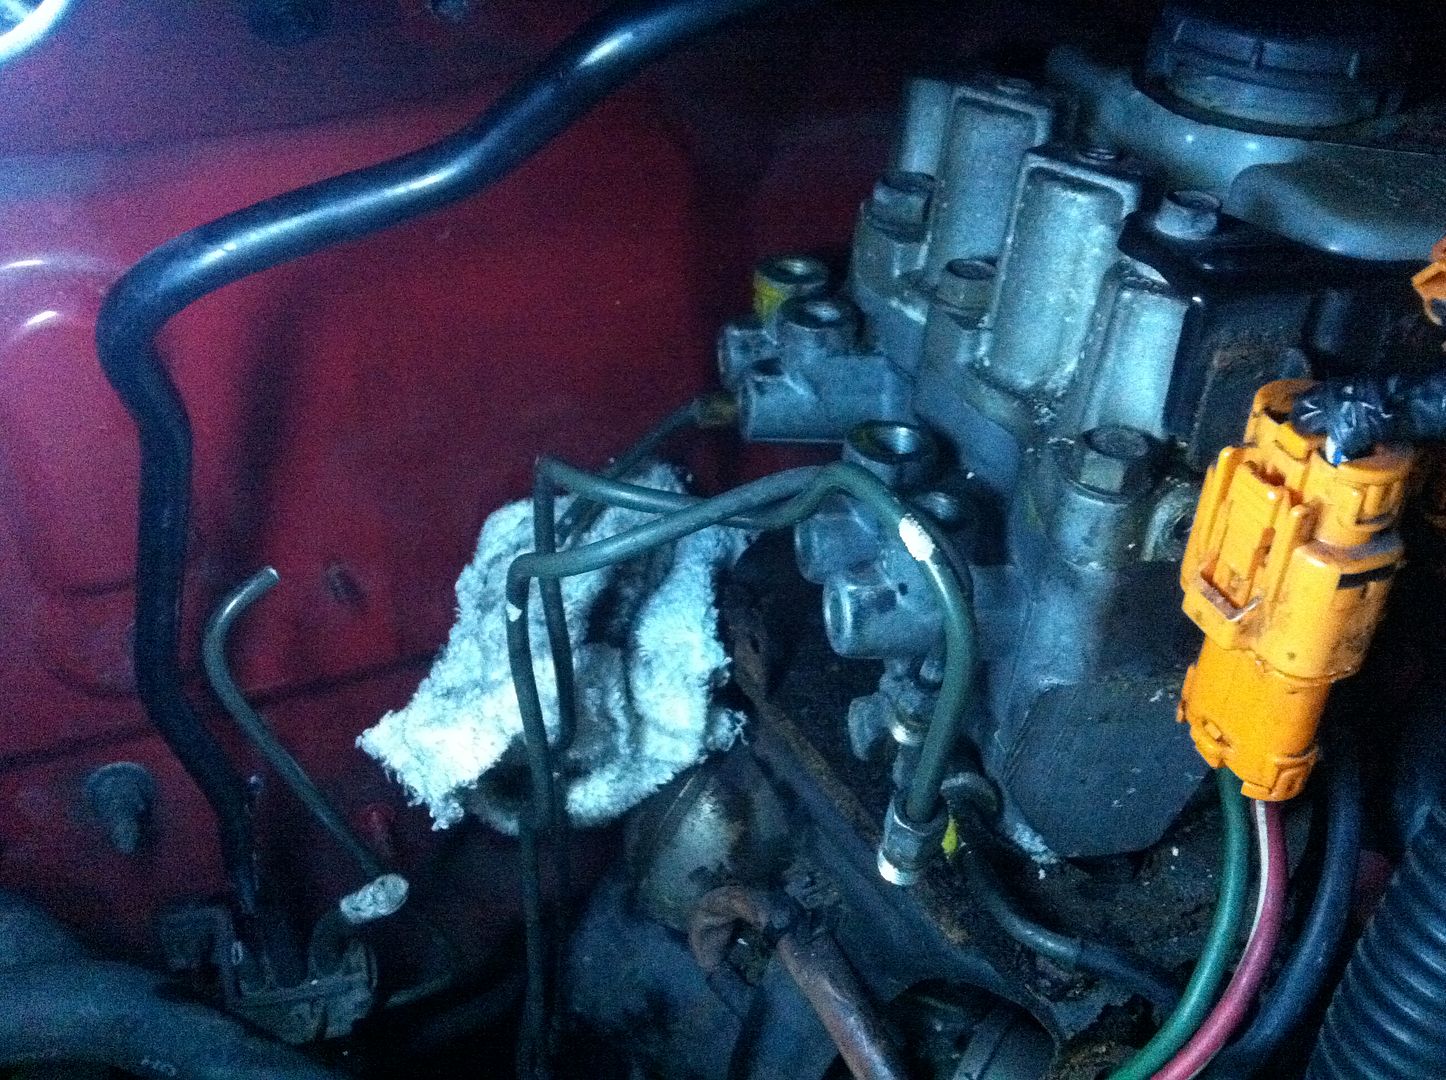
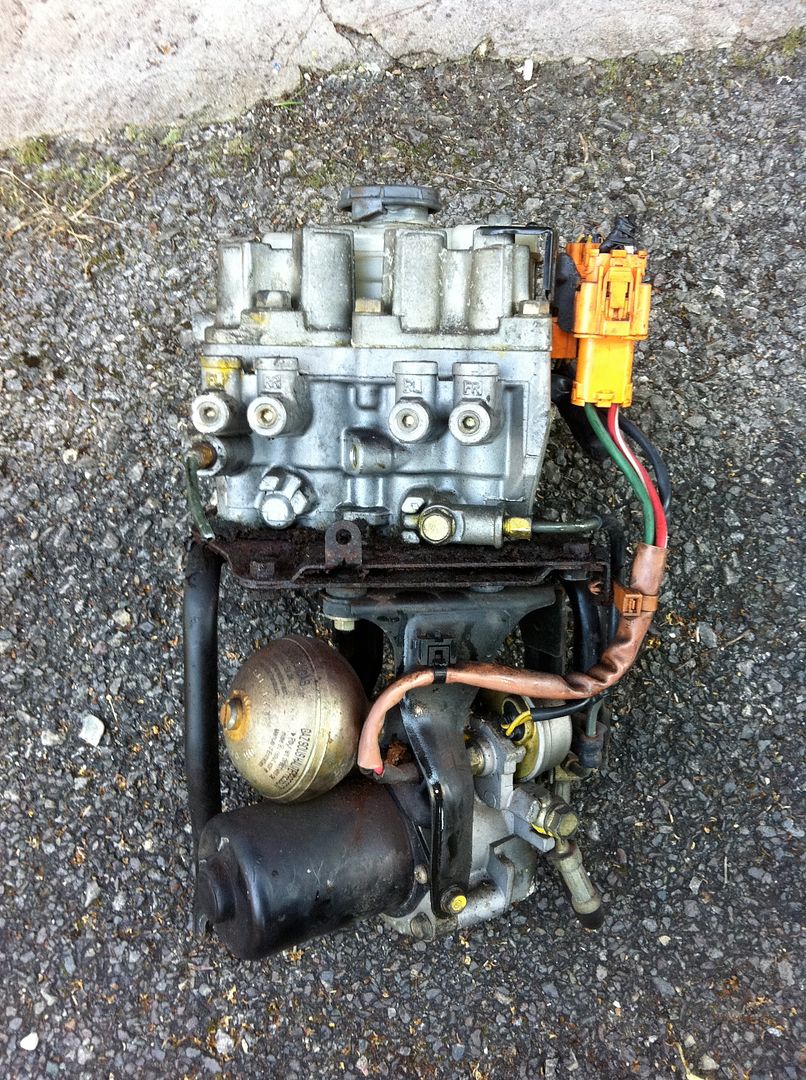
Final item of course is the ABS pump/modulator unit – this thing is huge and will save me sooooo much weight.
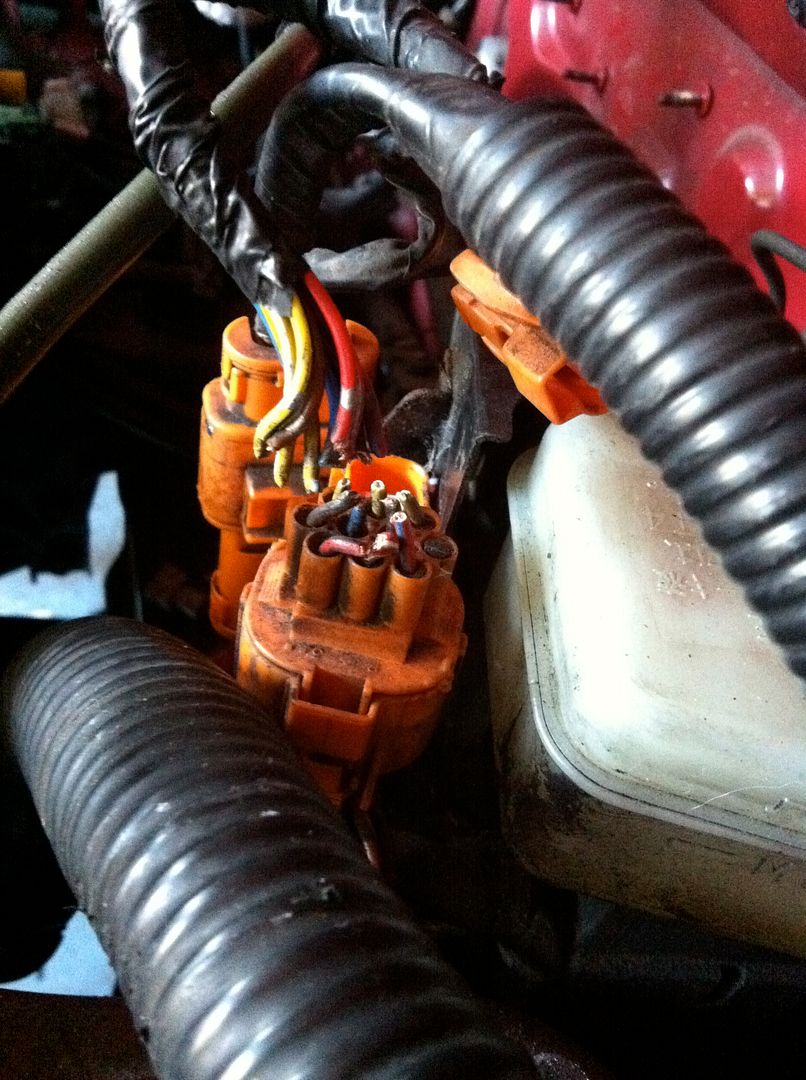
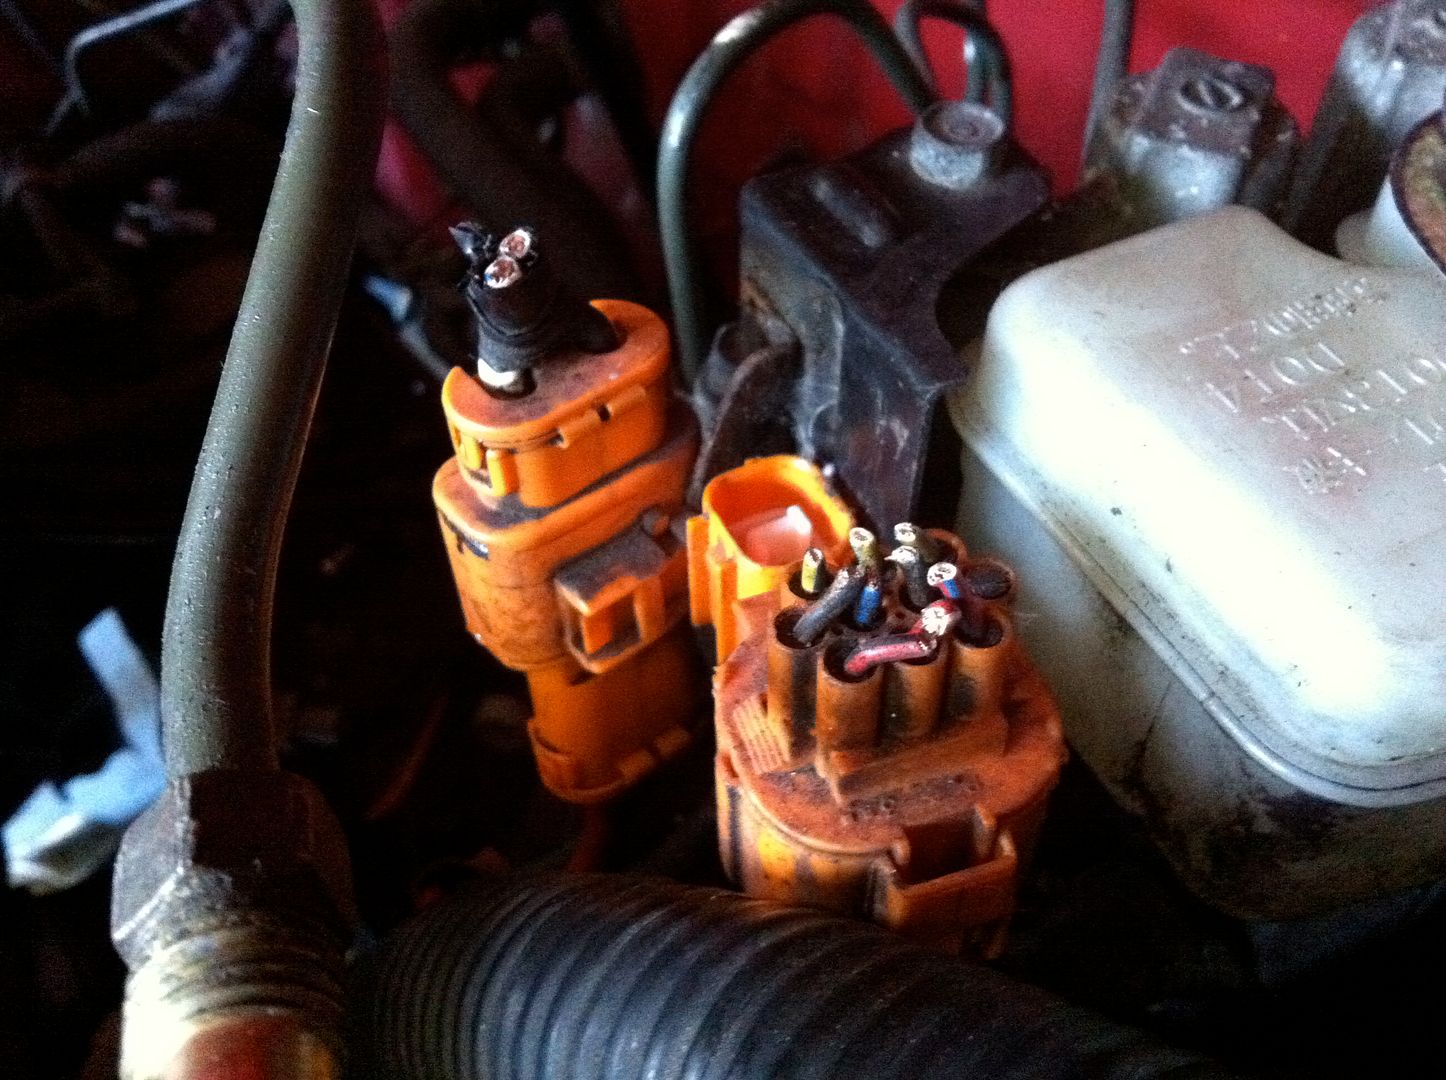
Firstly, remove the three orange harness plugs from the top, mine were stuck fast and I literally could not budge them. Again, it was being binned so I had enough and cut them off!
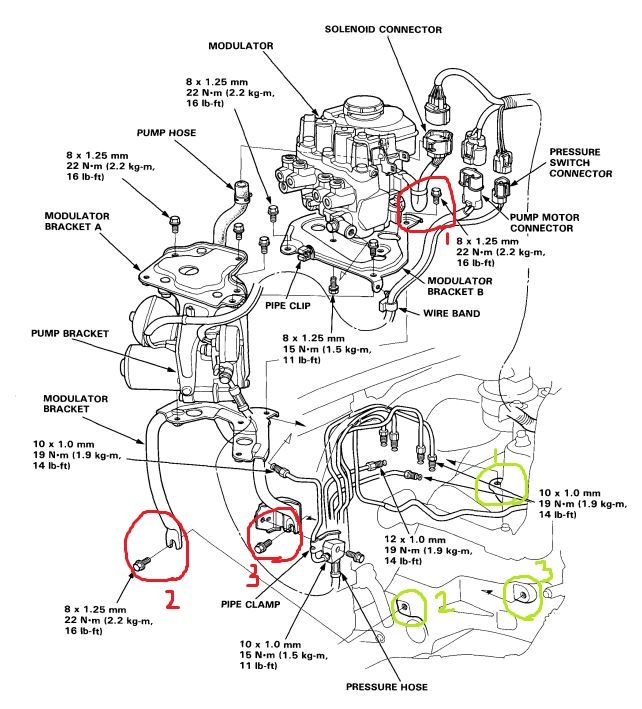
It was kind of hard to take pictures of where the three mounting bolts are for this as I could barely see them myself. This handy snippet from the manual shows it clearly:
Then lift it out and nearly break your back doing so, it weighs a ton! The fruits of my labour:
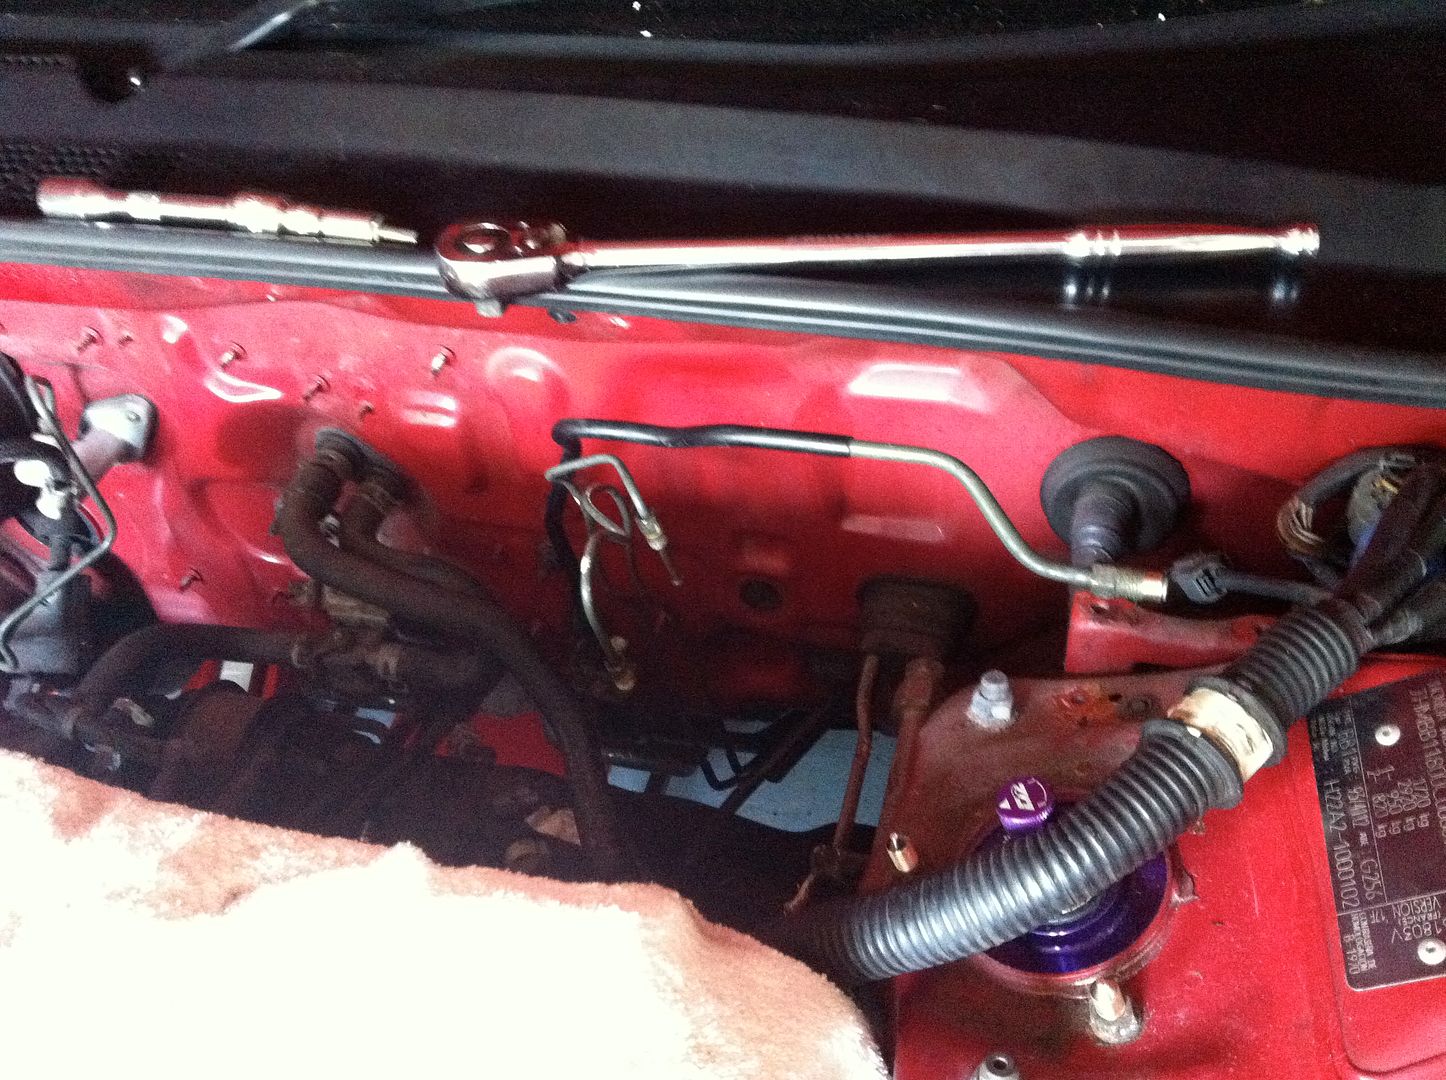
And what it left me with:
And then finally I deserved one of these:

More updates to come and another round up of more parts I’ve bought. A few plans and items I’ve posted in here have changed.
Cheers,
Rob